WebHooks Add-On 
Introduction 
You can use the WebHooks Add-On to send data from your forms to any custom page or script you like. This page can perform integration tasks to transform, parse, manipulate and send your submission data to wherever you choose.
If you are developing an application that needs to be updated every time a form is submitted, WebHooks is for you. The advantage of WebHooks is that the passing of data is immediate and you can pass all submitted form data at once.
What's a WebHook?
A WebHook is just a push notification from Easy Forms to another server every time someone submits your forms.
What can you do with a WebHook?
WebHooks makes easier to integrate two systems. The most common use for a WebHook is to feed leads into your CRM. But there are lots of other things you could do as well.
What Do You Need?
The very nature of a WebHook assumes that you have some ability to write code (or bribe a friend or colleague who does). You need to have a server that can accept a POST request (the one you’d get from a form submission), and be able to write a script that does something in response.
Note: Easy Forms support the integration of multiples WebHooks by form.
Install WebHooks add-on 
To install WebHooks add-on follow the Install an add-on from Add-On Manager documentation instructions.
Create a WebHook 
To create a WebHook, you must perform the following steps:
- Go to the Add-Ons Manager and click on WebHooks.
- Click on the Create a Webhook button.
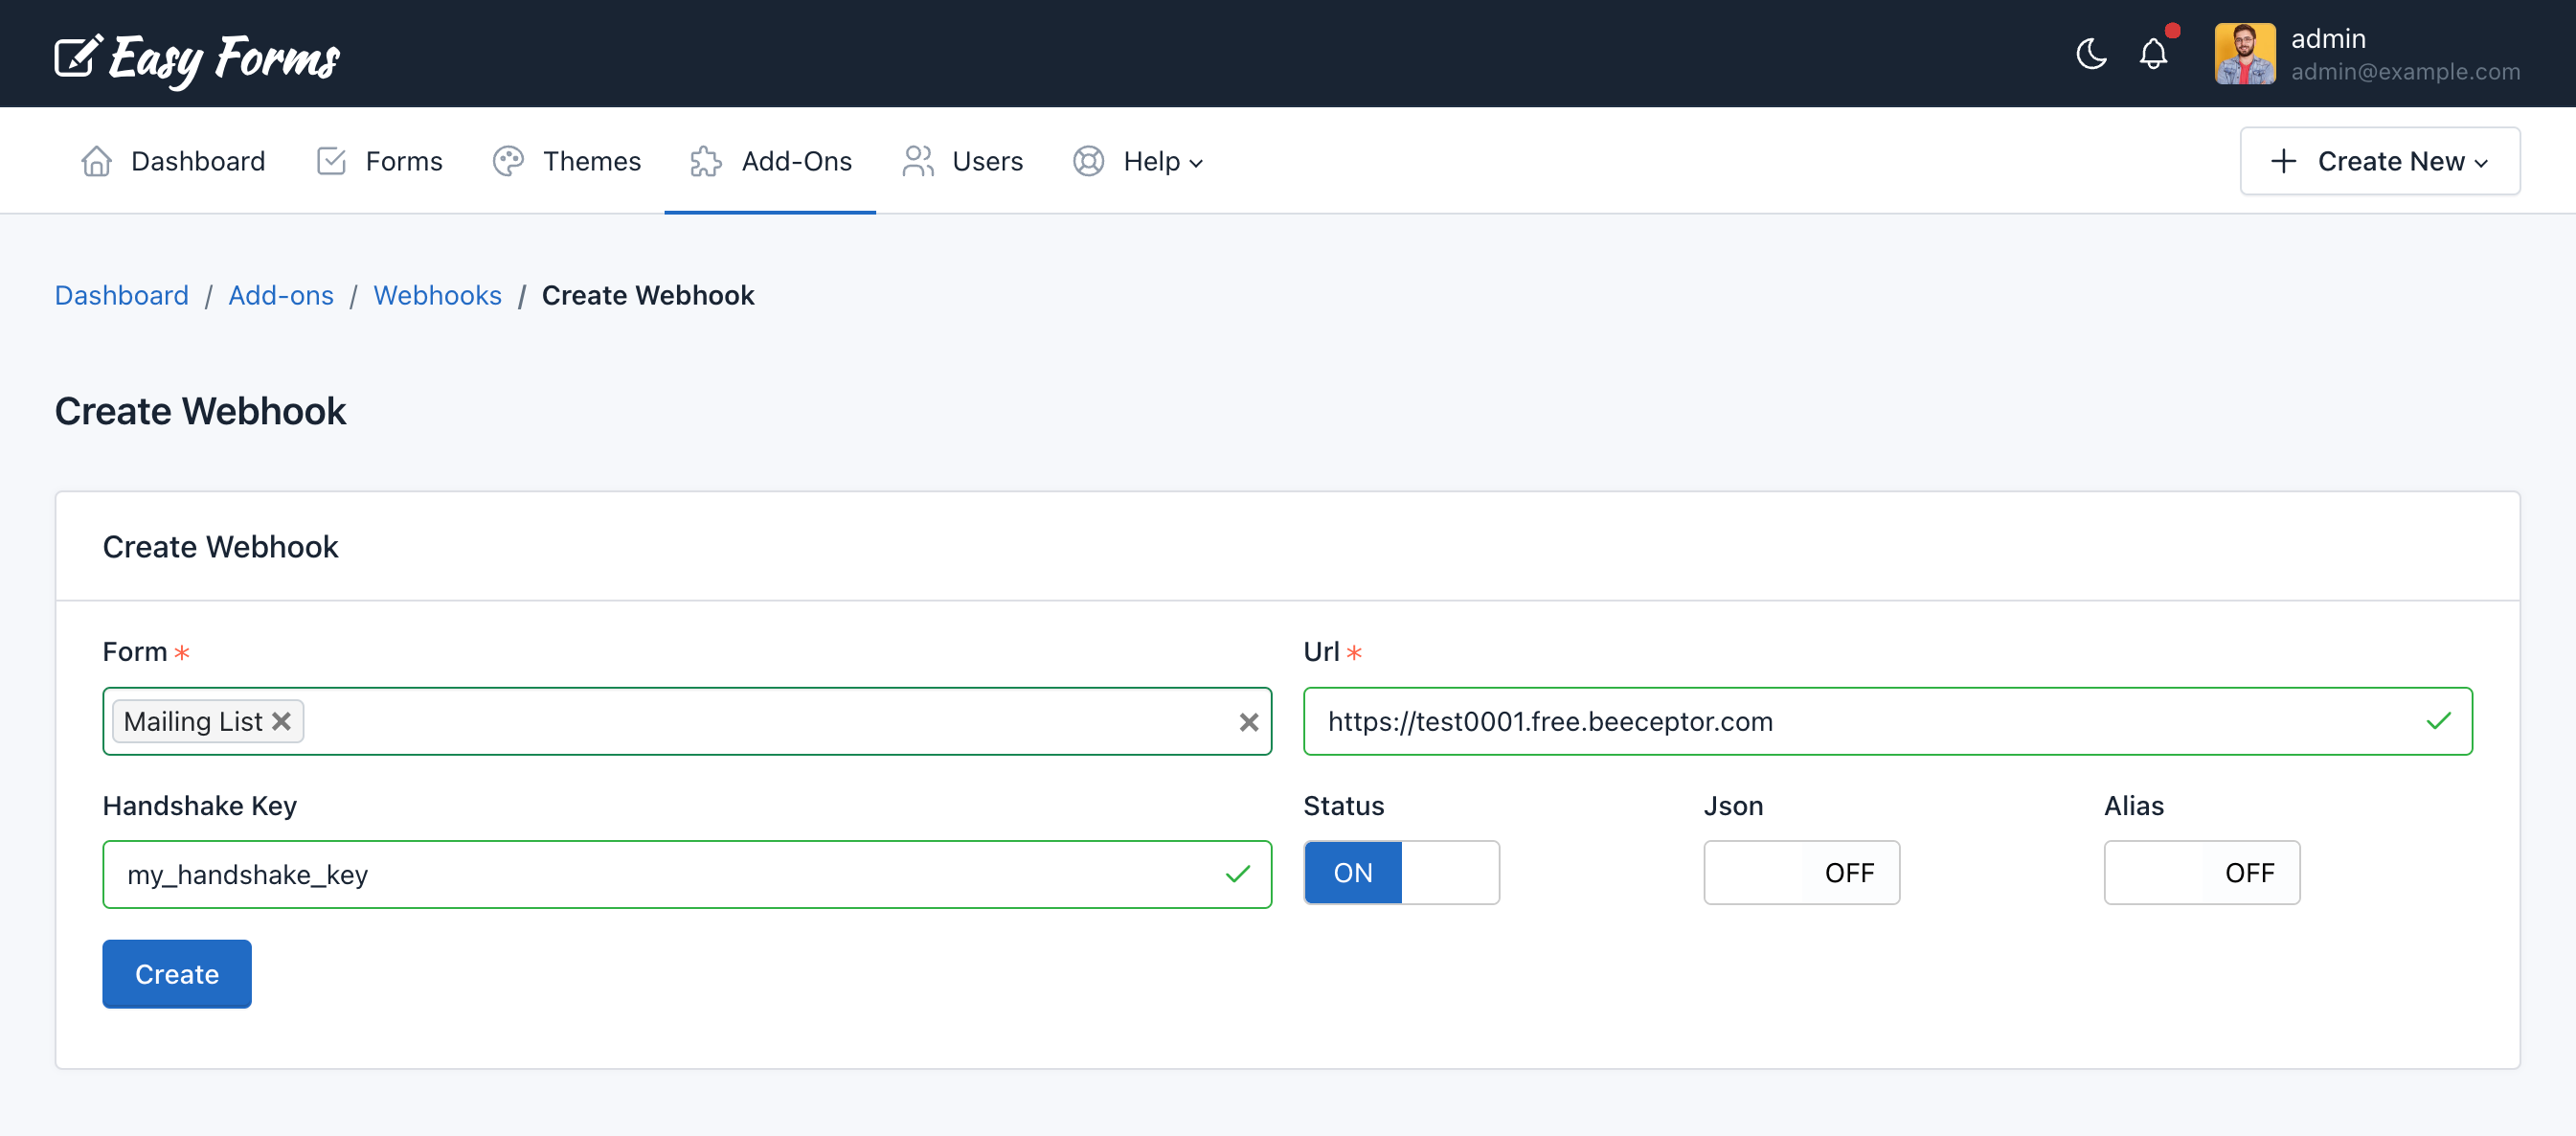
- A form used to configure the WebHook will appear:
- Form: Select the form that will send notifications.
- Handshake Key: This is a an optional key that you choose as an authentication mechanism to prevent spam to your Web Hook. This key will be included as a post parameter when our servers call yours. If you use this key, you should compare it to your copy to validate that the submission is legit.
- Url: The URL where your script is located.
- Status: Can be:
- On: Send notifications
- Off: Does not send notifications
- Json: Can be:
- On: Send data as JSON string
- Off: Send data as Url Encoded string
- Alias: Can be:
- On: Send data with Field Alias as parameter key. Eg. Replaces 'text_0' by 'name'.
- Off: Send data with Field ID as parameter key
- Click Create.
Note: Select multiple forms to create the same WebHook for each form.
Disable / Enable a WebHook 
To stop a webhook temporarily, you can choose to disable and enable later. To disable a form webhook, you must follow these steps:
- Go to the Add-Ons Manager and click on WebHooks.
- Click the Actions button of the WebHook to disable.
- Click Update.
- Change the Status from On to Off or vice versa.
- Click Update.
Delete a WebHook 
To delete a WebHook, you must perform the following steps:
- Select the checkbox of the WebHook to delete.
- Click Bulk Actions.
- Click Delete.
- Then it will show a popup asking you to confirm your decision to delete the WebHook.
The WebHooks Manager will reload and the selected WebHook will be deleted.
Send data as JSON 
To send the post data as a JSON string, you must follow these steps:
- Go to the Add-Ons Manager and click on WebHooks.
- Click the Actions button of the WebHook to disable.
- Click Update.
- Change the Json field from On to Off or vice versa.
- Click Update.
Using WebHooks 
Now that you know what are WebHooks and how to use them in Easy Forms, let's see an example.
Note: You can follow this tutorial using the Easy Forms demo. But keep in mind that our demo page will refresh every 15 minutes.
In this tutorial we are going to send notifications from one of our forms to the page: Beeceptor. This page captures our notifications and printed them on screen.
First Steps: 
- Go to https://beeceptor.com/
- Enter a Endpoint Name and
- Press the Create Endpoint button
- Copy the Endpoint Url
Very Good! Know you have a URL that will serve to receive notifications sent by Easy Forms.
Next Steps: 
- Go to Easy Forms
- Go to the Add-Ons Manager and Install WebHooks
- Now, Click on WebHooks.
- Click on the Create a Webhook button.
- Fill the form:
- Form: Select ‘Mailing List'
- Url: Paste the Endpoint Url
- Handshake Key: For this example: my_handshake_key
- Status: ON
- Click on Create
Final Steps: Test your notifications 
- Go to Form Manager
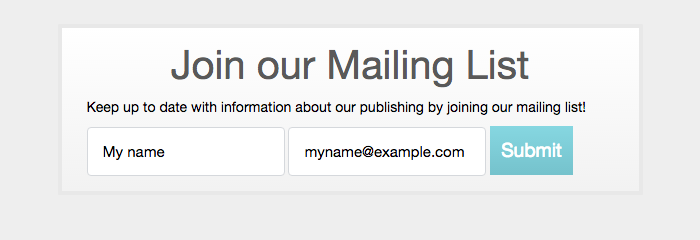
- Click on the ‘Mailing List' form
- Click on the Publish and Share button (the green arrow icon)
- Click on Share Form Link
- Check Without box and press Go!
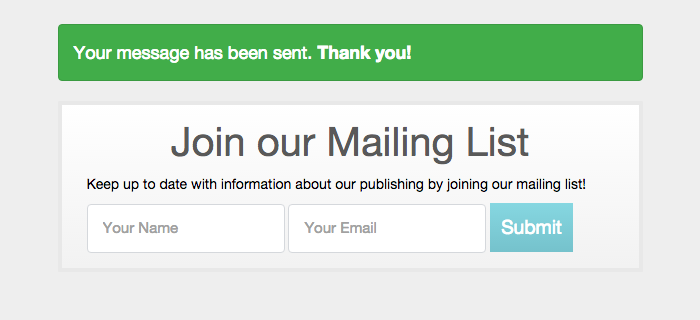
- Fill the Mailing List form and submit
If your submission is received, a success message will appear.
Now, go to Endpoint Url (and without refresh the page) you will see that the notification contains:
- Form ID
- Form Name
- User IP
- Submission Data
- HandShake Key
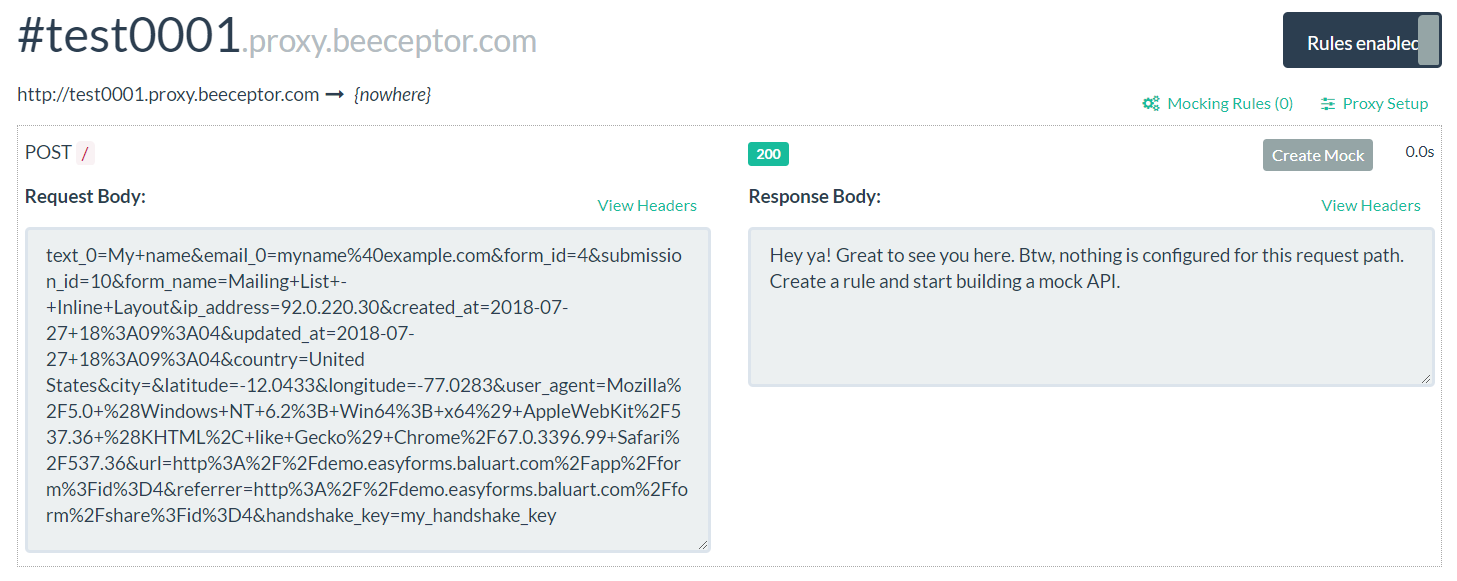
And that’s it! You have sent your first notification to another server. Congratulations!
Saving Form Submissions in an external database 
Now that we know how to export Form Submissions in real time to an external application, we will see how we can store these submissions in a database.
If you have a website, you can perform the following steps and store Form Submissions of our Demo Form in your own database, you just need to change the WebHook URL.
Note: You can Follow this tutorial using our Easy Forms demo. Keep in mind that our demo page will refresh every 15 minutes.
In Your own Website: 
1.- Create a database: 'test'. You can do this with your favorite software, such as phpMyAdmin or also using the following MySQL command:
CREATE DATABASE 'test';
2.- Create a database table: 'subscribers', with 4 fields: id, name, email and ip_address. You can run the following MySQL query:
CREATE TABLE `test`.`subscribers` (
    `id` INT(11) NOT NULL AUTO_INCREMENT ,
    `name` VARCHAR(255) NOT NULL ,
    `email` VARCHAR(255) NOT NULL ,
    `ip_address` VARCHAR(255) NOT NULL ,
 PRIMARY KEY (`id`)) ENGINE = InnoDB;
3.- Setup the information to your database: 'test'. The @app/custom/saveToDB.php file allows you to configure the following parameters:
define('DB_SERVER', "localhost");
define('DB_USER', "root");
define('DB_PASSWORD', "");
define('DB_DATABASE', "test");
define('DB_DRIVER', "mysql");
4.- Upload the @app/custom/saveToDB.php file to your server.
In our Easy Forms demo page: 
Username: admin Password: 123456
5.- Finally go to our Easy Forms demo page and change the WebHook URL:
- Go to the Add-Ons Manager and click on WebHooks.
- Click the Actions button of the WebHook to update
- Replace the URL by http://mydomain.com/saveToDB.php.
- Click Update
From now on, each time you submit the form, the data will be forwarded to your saveToDB.php file that will store the information in the corresponding field in the database.
As you can see in the saveToDB.php file:
- We are receiving $_POST data sent by Easy Forms when a Form is submitted. For example:
$name = isset($_POST['text_0']) ? $_POST['text_0'] : '';
Here text_0 is the Field name. You can see the name of each field in the Form Builder (Code tab):
https://demo.easyforms.dev/form/update?id=4
And that's all!
Then you can follow this logic to create your own custom file in order to receive Form Submissions and save them in your database.