Installing Easy Forms 
Easy Forms installation is a simple process that should not take more than a few minutes. The following installation guide will help you to install Easy Forms on your server.
Note:
@apprefers to the application installation path.
Upload your files 
With the following steps you will avoid problems (corrupted files) and reduce the upload time to a couple of minutes.
1. Compress the 'app' folder.
2. Upload the 'app.zip' file to your server.
3. Extract the 'app.zip' file with the cPanel File Manager.
Note: This guide assumes that you have already uploaded the 'app' folder (Easy Forms files) to your server, but you can change its name or move all its files to another location.
Tip! We suggest uploading the application files to a sub-domain, for example forms.example.com or app.example.com are good options.
Prepare the MySQL database 
Easy Forms needs a MySQL database to store data such as forms, submissions and stats. You can either use your existing MySQL database or create a dedicated MySQL database for Easy Forms on your server.
Take note of the username, password, database name, and hostname as you create the database. You will enter this information during the install.
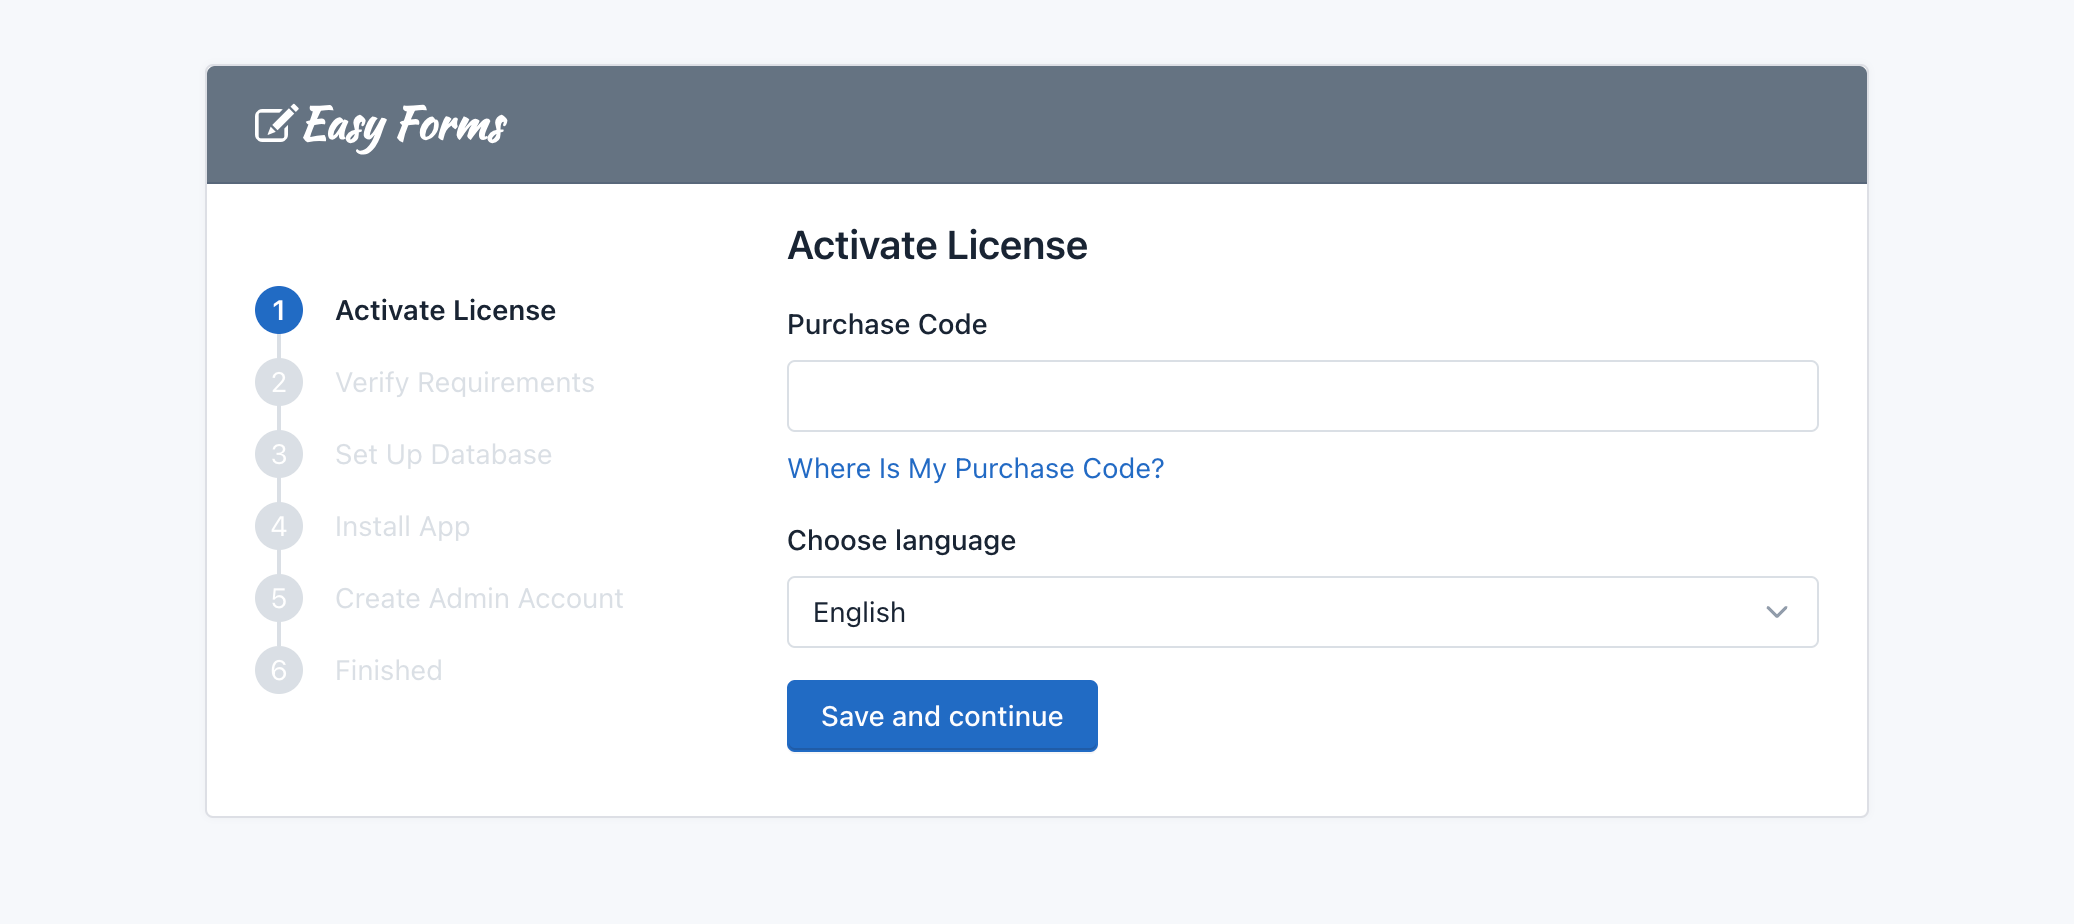
Run the "install" script 
To run the "install" script, point your browser to 'install.php' file in the base URL of your application (e.g., http://www.example.com/install.php).
You will be guided through several screens to choose your language, set up the database and create the administrator account.
Note: If you get an error during the activation process, make sure the web server can write files in the application. See our related documentation.
Add Cron Job to Server 
To finish the installation process, the script will show you the command to configure your Cron Job.
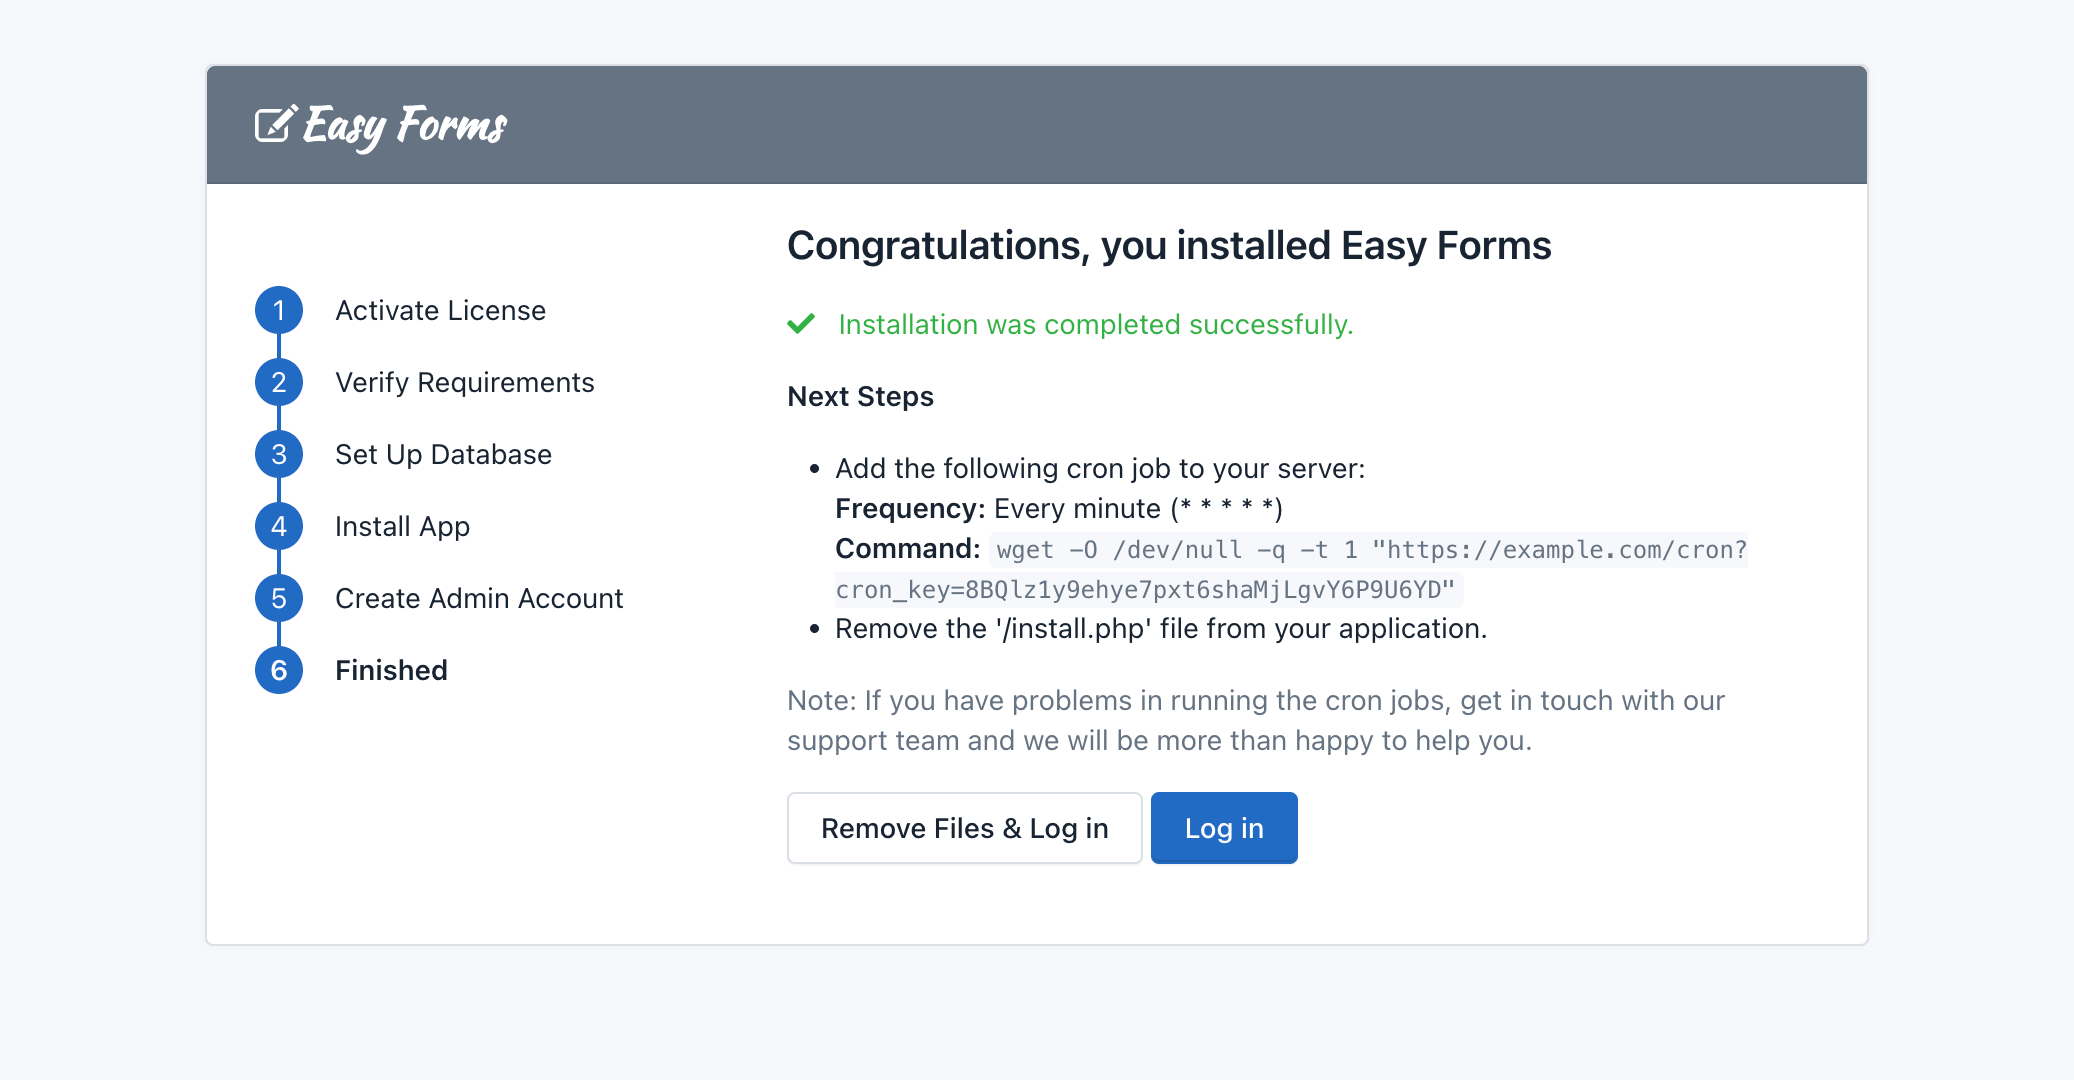
Important! For performance reasons the process to update Form Analytics will be executed by the Cron Job.
Tip! How to add the Cron Job on cPanel? Click here to read more.
Note: If you have any problems running cron jobs, get in touch with our support team.
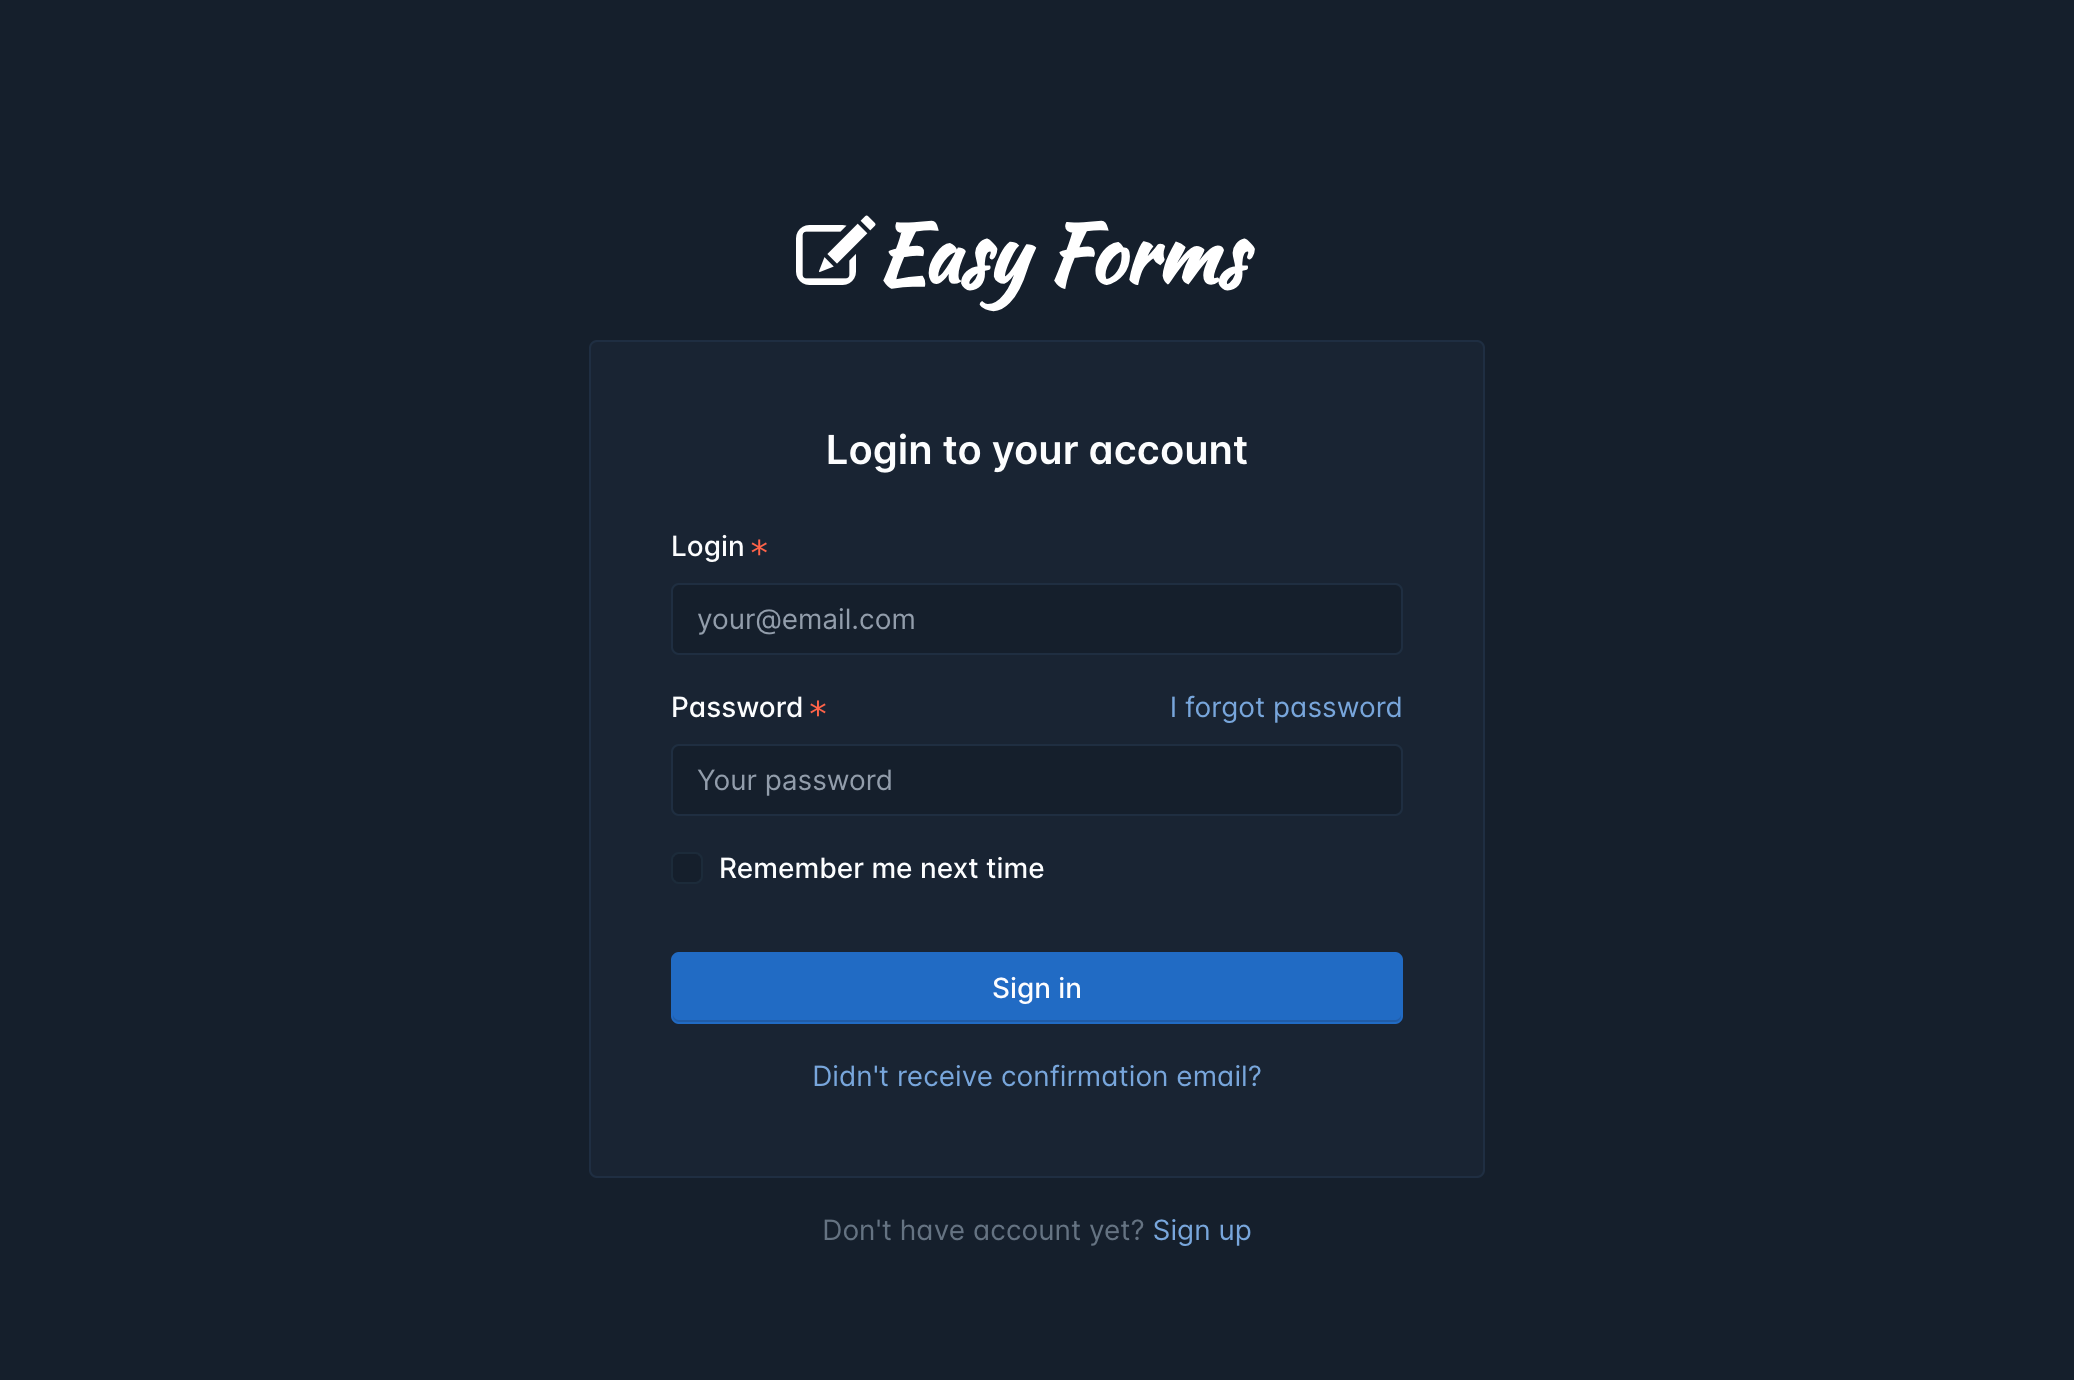
Go to the Home page 
When the "install" script finishes, you can go to the application Homepage, and it automatically will show the login form.
If the login page shows a 404 error or links on the page result in "Page Not Found" errors, you may be experiencing problems with friendly URLs. You must ensure you have the Apache module 'mod_rewrite' enabled.
If your server doesn't have Apache mod_rewrite enabled, you can disable the application pretty urls:
1. Open the '@app/config/web.php' file
2. Replace the line:

'enablePrettyUrl' => true,`

By:

'enablePrettyUrl' => false,`
5.1. Additional Step: Removing the Installation and SQL files 
To finish the installation, you will see a button to remove the installation and sql files from your server automatically. However, if this is not possible by a server configuration, you can use an FTP software or cPanel File Manager to remove them.
If those files have not been removed, an alert message will appear in the Dashboard.
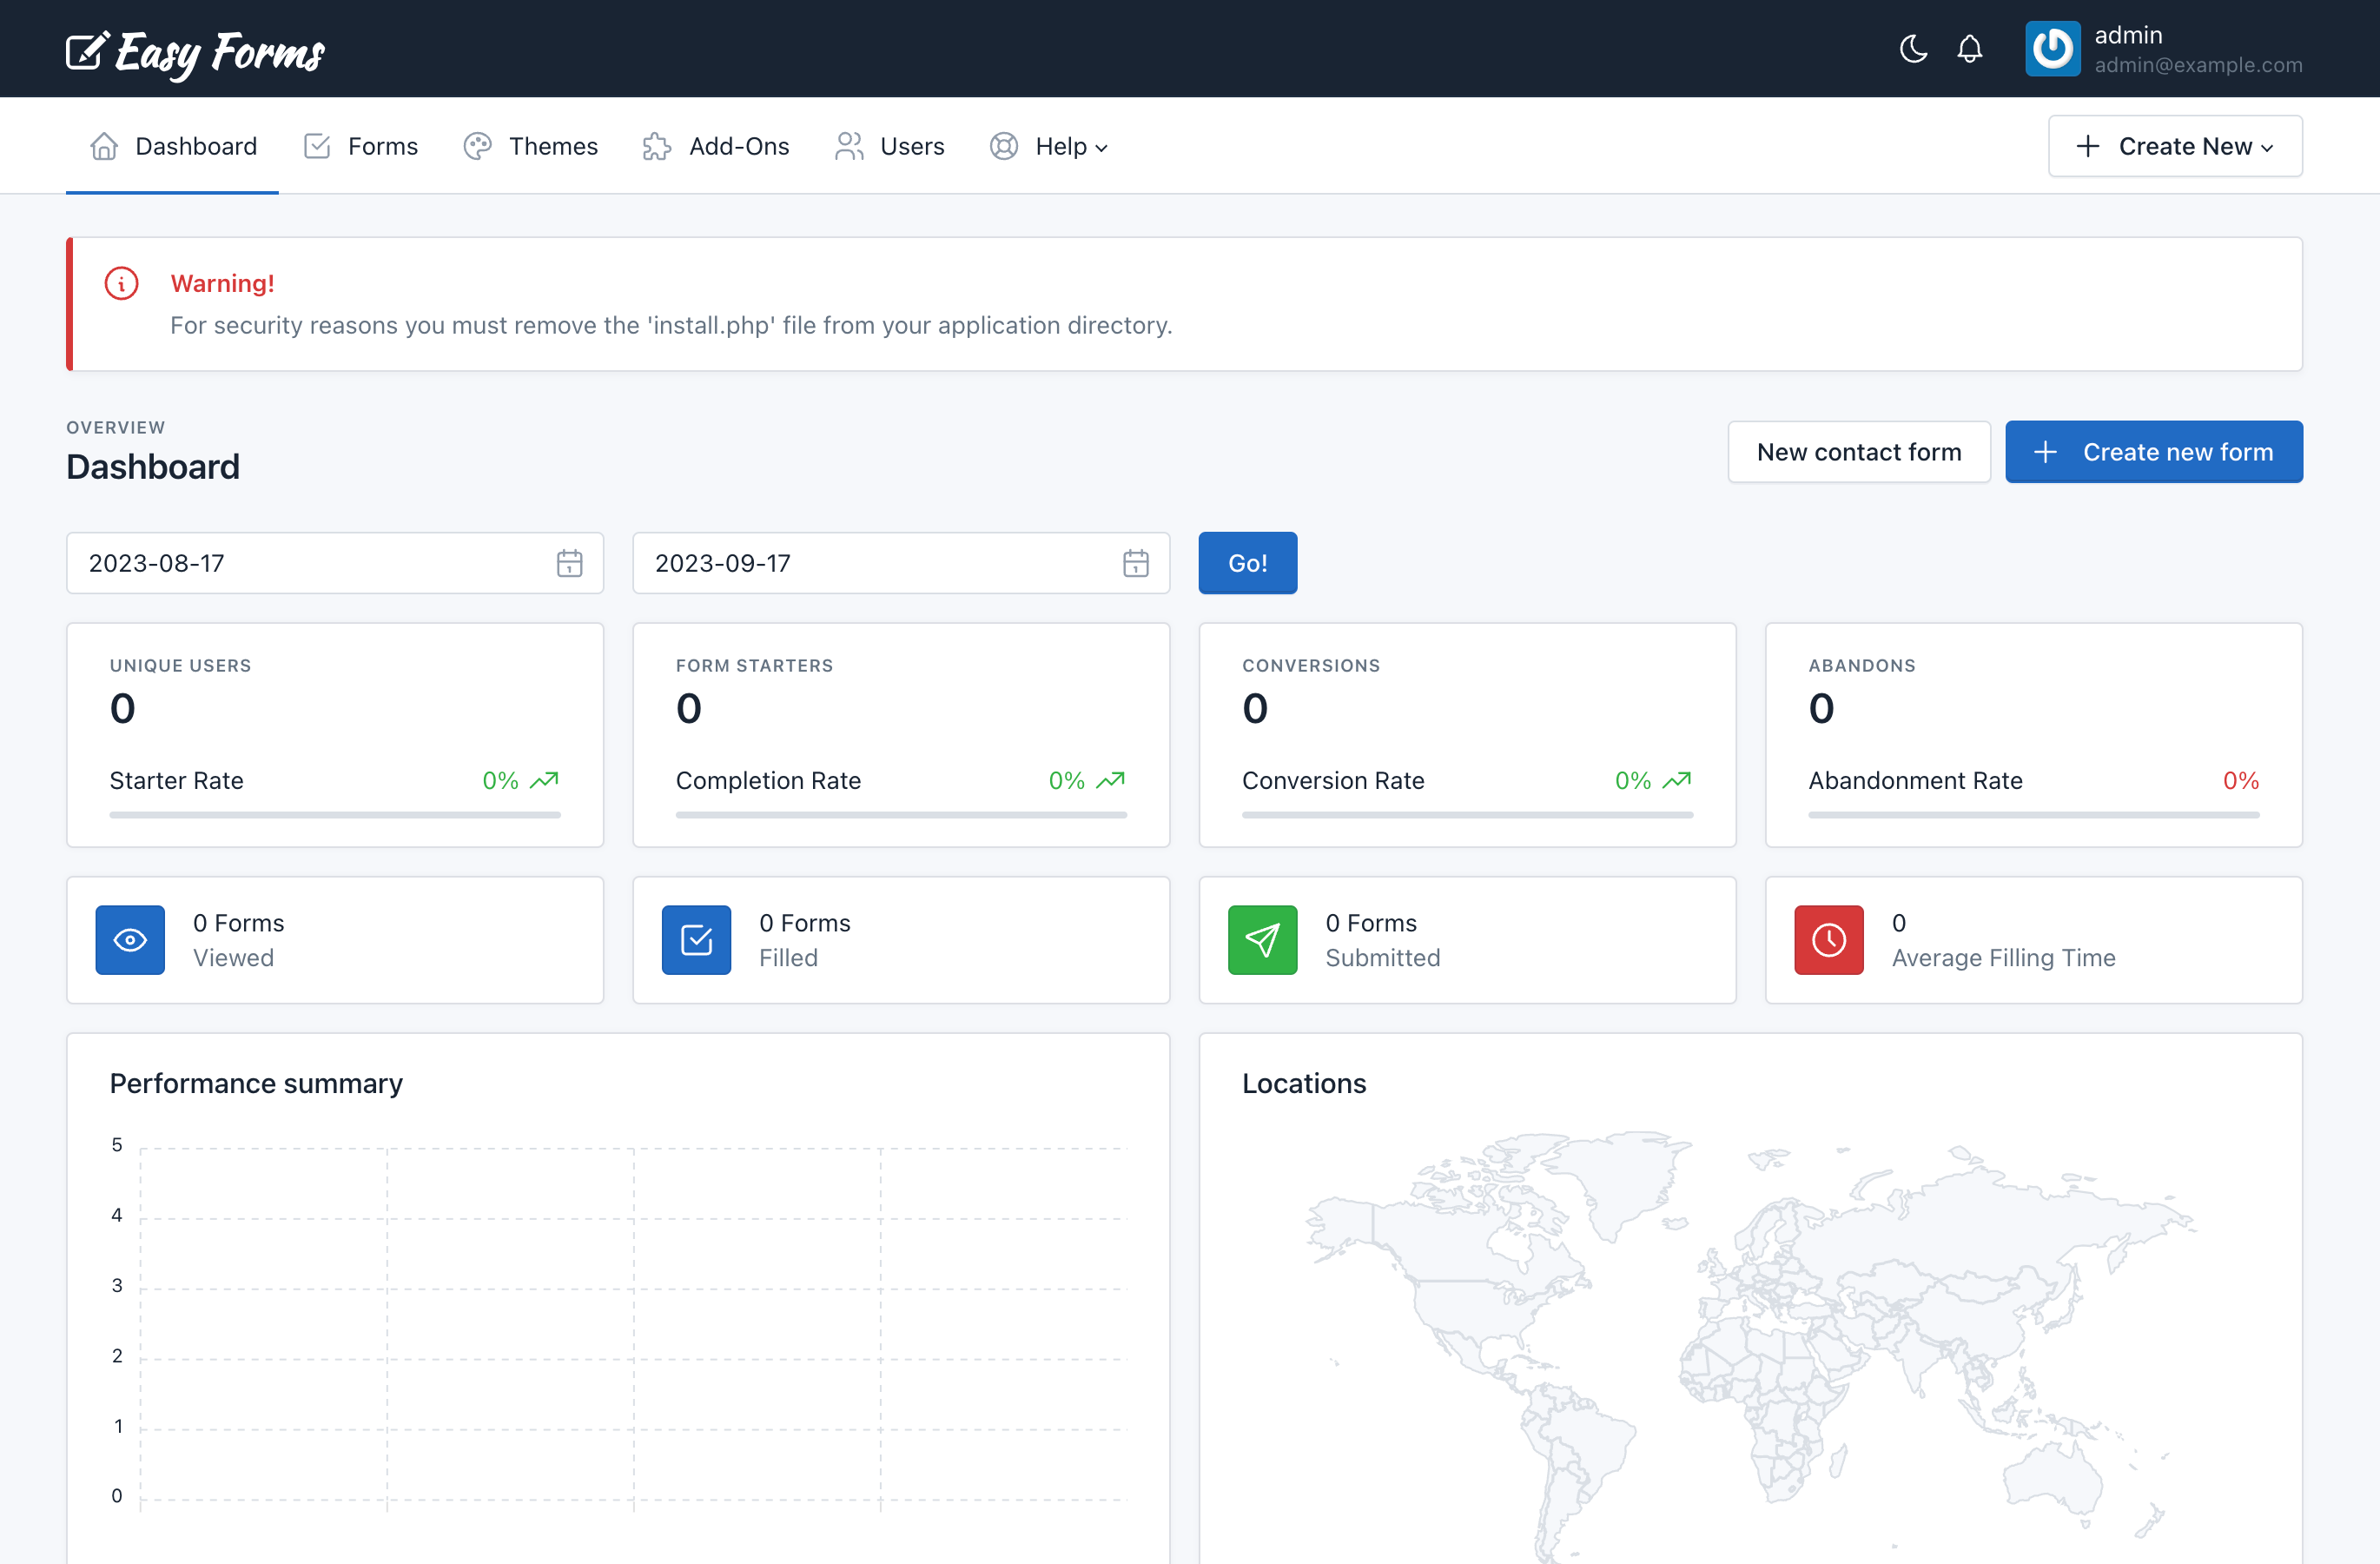
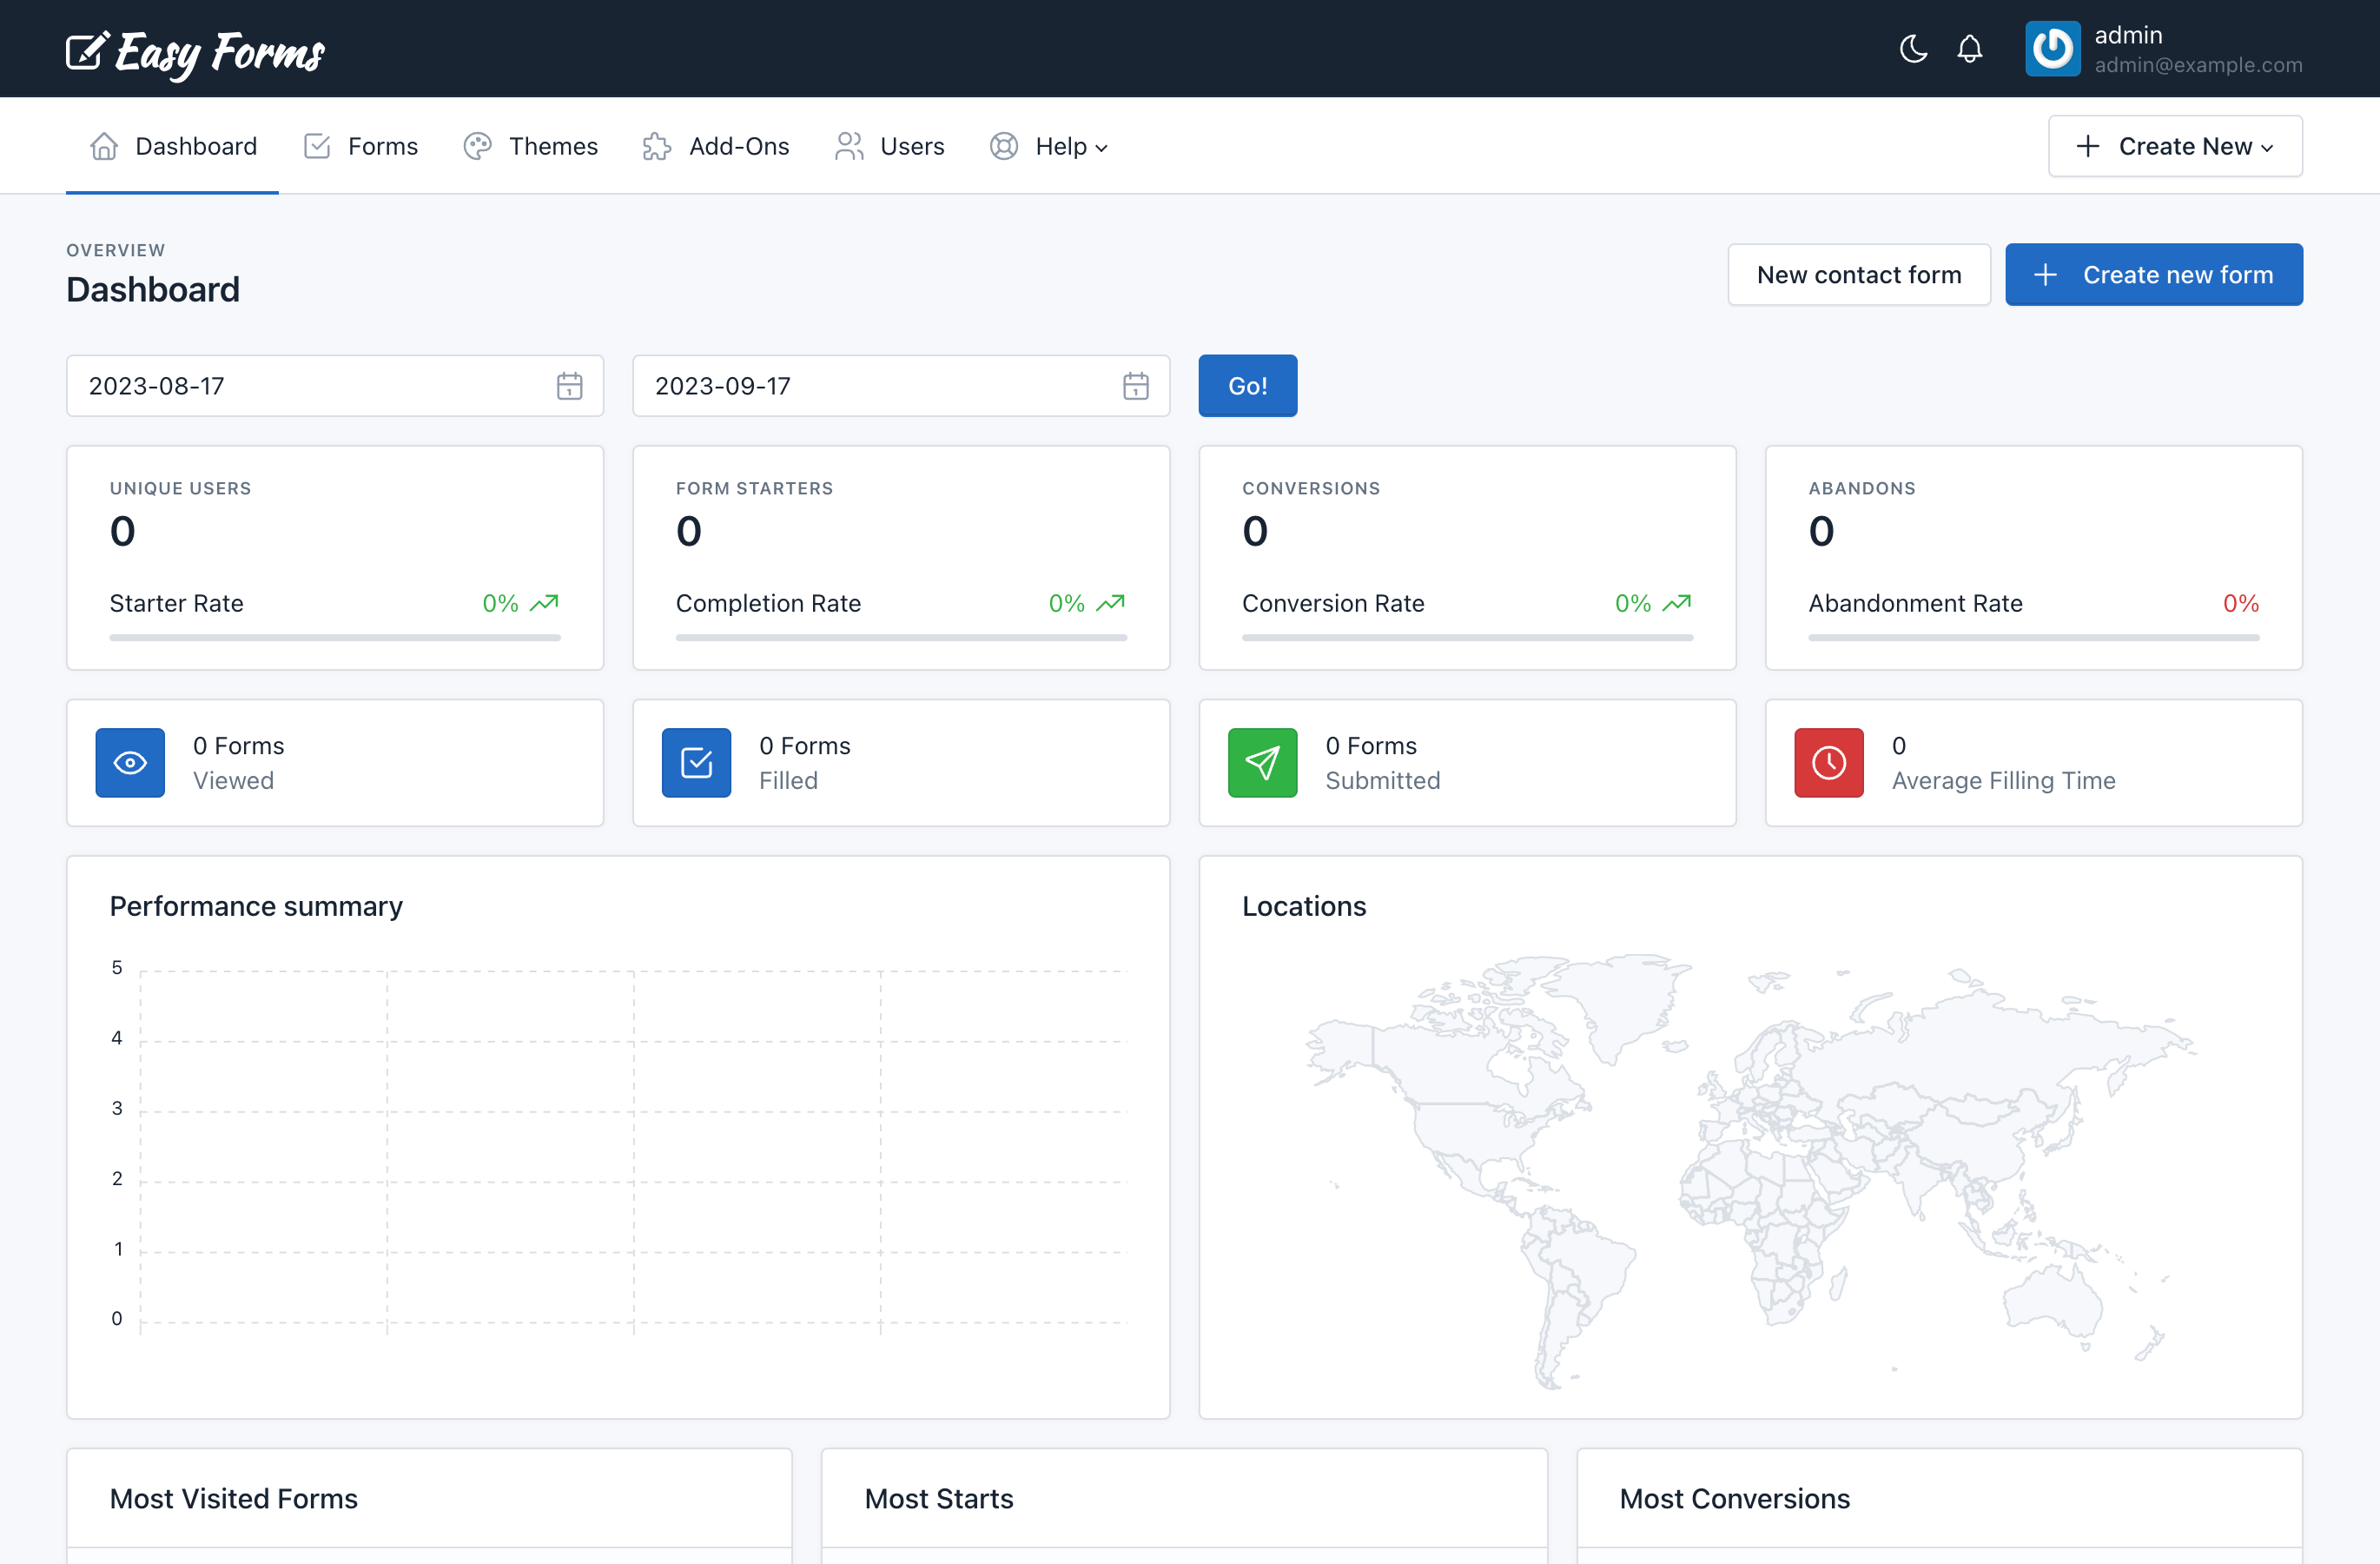
This is how your fresh application should look like.
And that’s it! The installation is now complete.