User Manager 
Introduction 
In Easy Forms, each user is identified with a username, password, and email. Together with other settings, a robust and flexible RBAC system determine which tasks a user can perform, what data he can see, and what he can do with this data.
User Management 
As an Easy Forms administrator, you can manage users. The user management includes working with permissions and roles, delegating users, impersonate them and more.
- As an administrator, you perform user management tasks, such as:
- Create and edit users
- Reset passwords
- Grant permissions
- Create and manage other types of users
- Block users
- Assign resource to specific users (forms, templates and themes)
- Delegate user administration tasks to other users
To perform any action in the application, a user must have permission. There are two ways to get this permission:
- Assigning a user role with the required permissions
- Assigning you the necessary user permissions directly
User Roles 
The user roles enables you to assign specific user permissions to a role and to fine-tune the security, use and administration of the entire application. Users assigned to the role, are granted those permissions as assigned to the role.
Easy Forms allows you to set up any number of different kinds of 'Roles'. By default, the application comes with two user roles:
- Administrator: A user with access to the entire application, including site configuration, user management and all forms.
- User: User with this role can create forms and manage them. Also, they will be able to create their own themes and use them in their forms. Moreover, they can access the Template Manager to create their own templates and use templates created by administrators.
However, Easy Forms is very flexible, so you can create custom user roles and assign each one different types of granular permissions. Also, if you want, you can assign specific permissions to each user.
User Permissions 
The ability to do actions on your app (including viewing forms, editing forms, and changing configuration) is governed by permissions. Each permission has a name (such as View Forms) and covers one action or a small subset of actions. A user must be granted a permission in order to do the corresponding action on the application.
Shared Resources 
The application allows you to share resources with other users. For example, you have created a form, and you want another user to be able to access it. This is possible, but not only that. You also have the option of defining the permissions that the user who accesses the shared resource will have. In the example, he will be able to see it, but not to edit it (such as View Shared Forms).
User Impersonation 
This feature allows you to temporarily sign in as a different user in your application. Users with impersonation permissions can impersonate all other users in the app and take any action according the impersonated user's own permission level.
Maximum Password Age 
This feature determines the period of time (in days) that a password can be used before the system requires the user to change it.
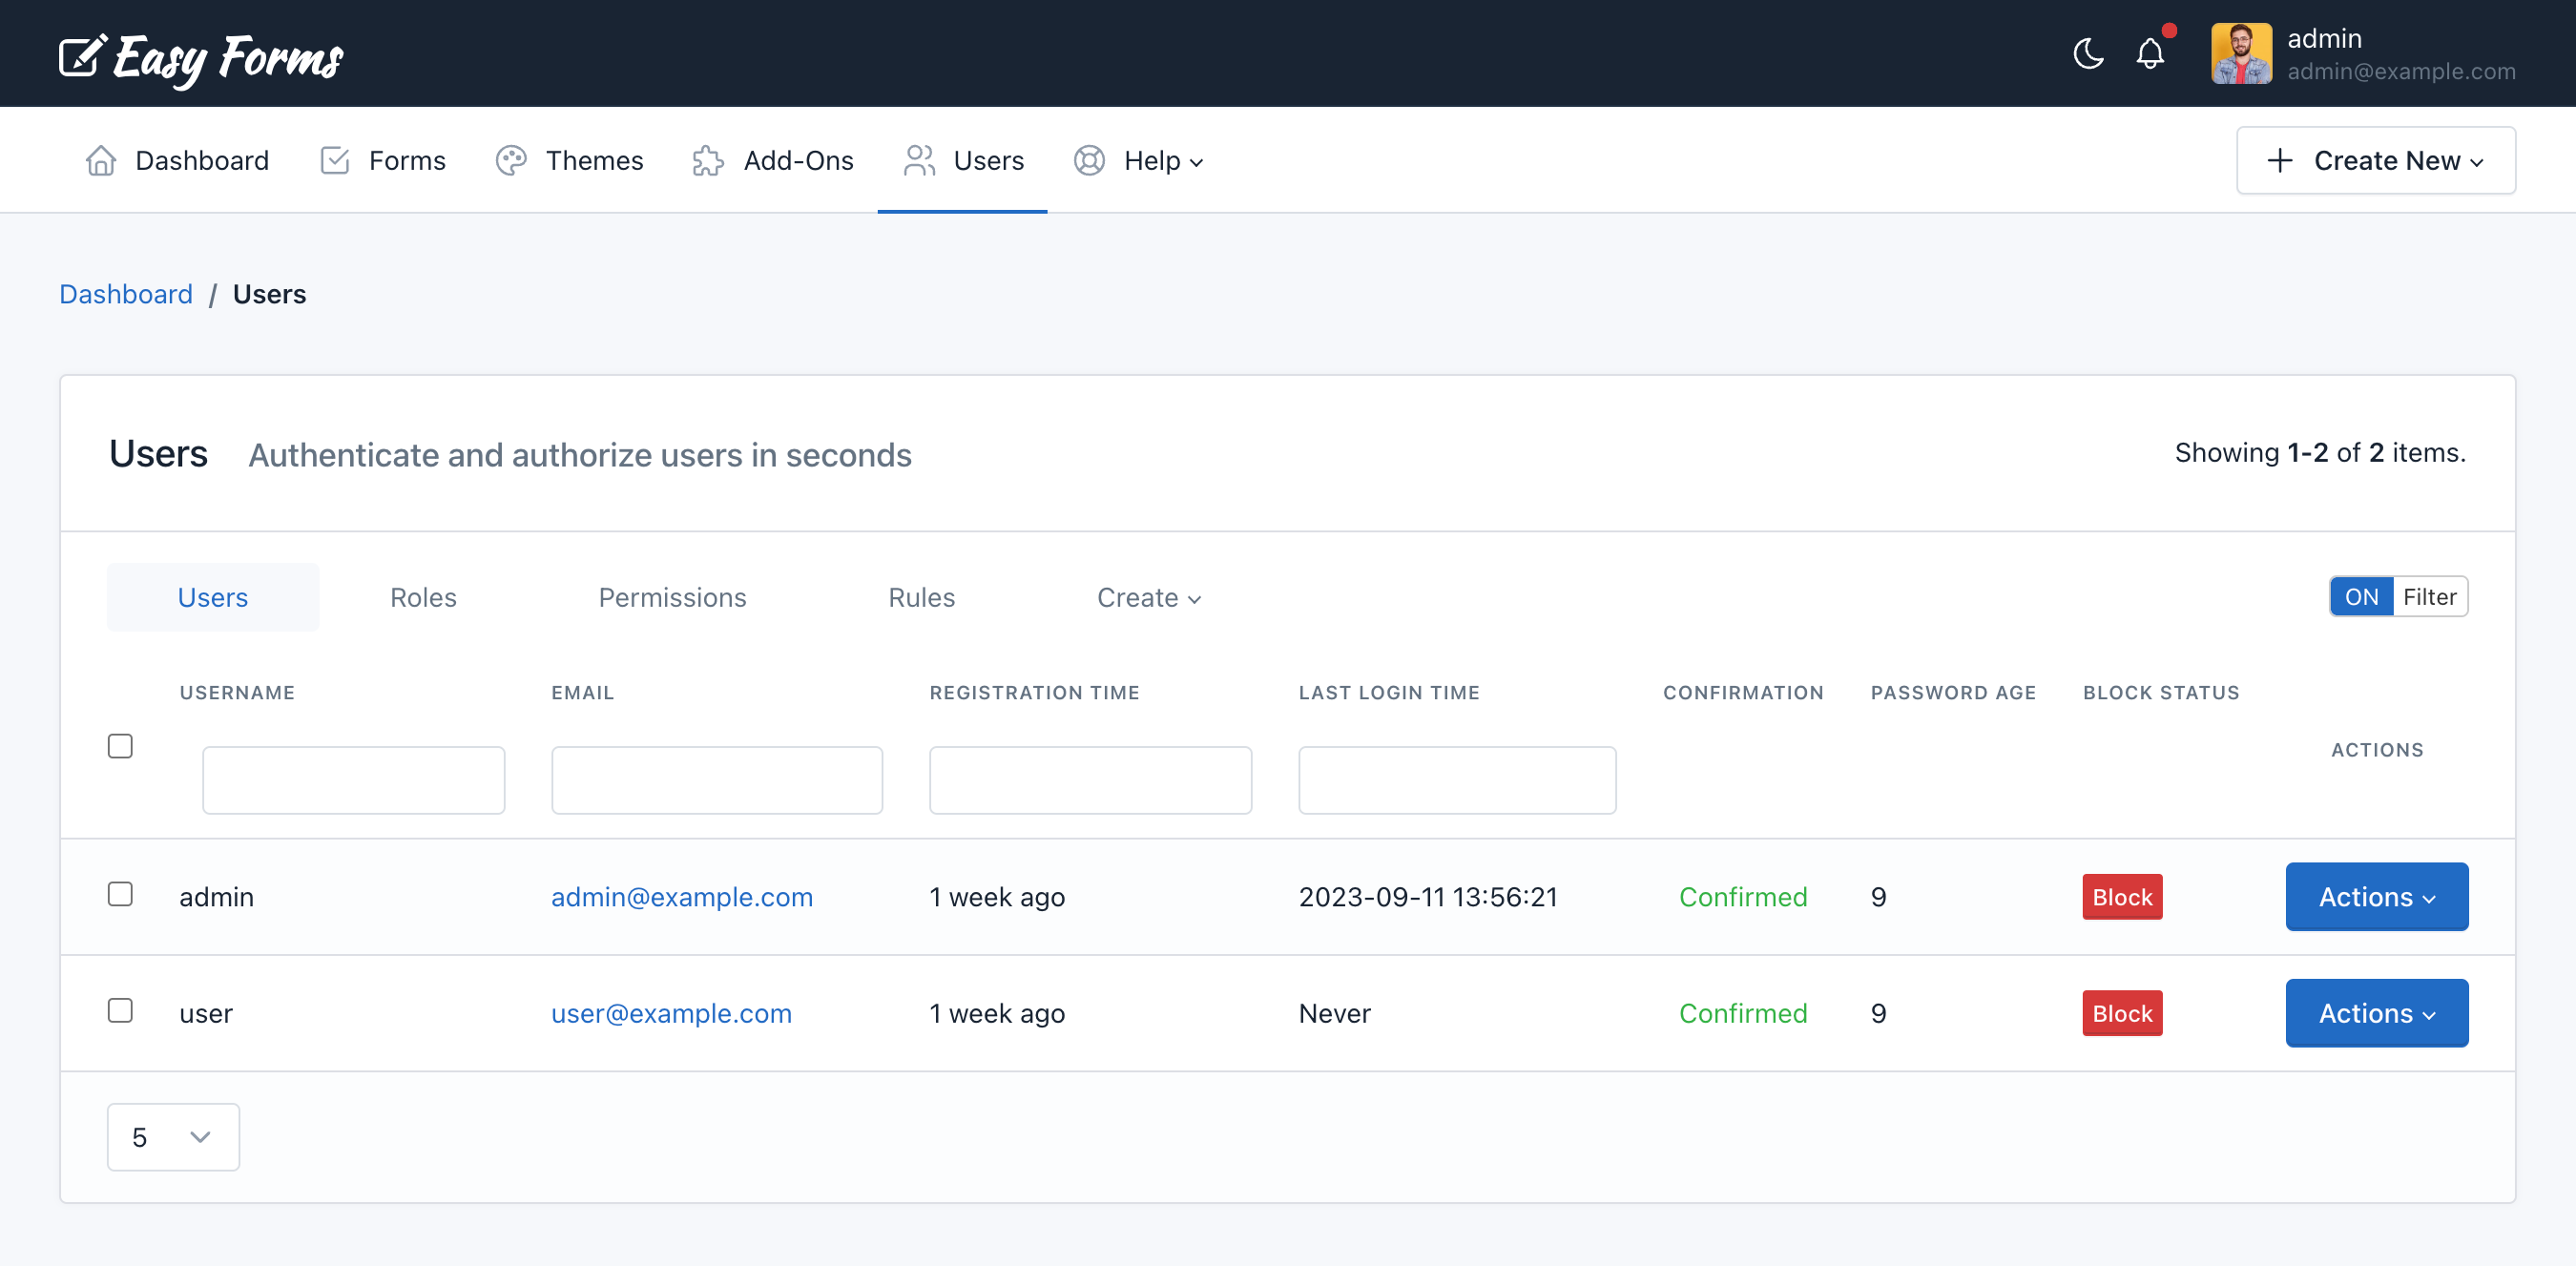
Create a User 
To create a user, go to the User Manager by clicking on the Users link in the navigation bar. Then, you must perform the following steps:
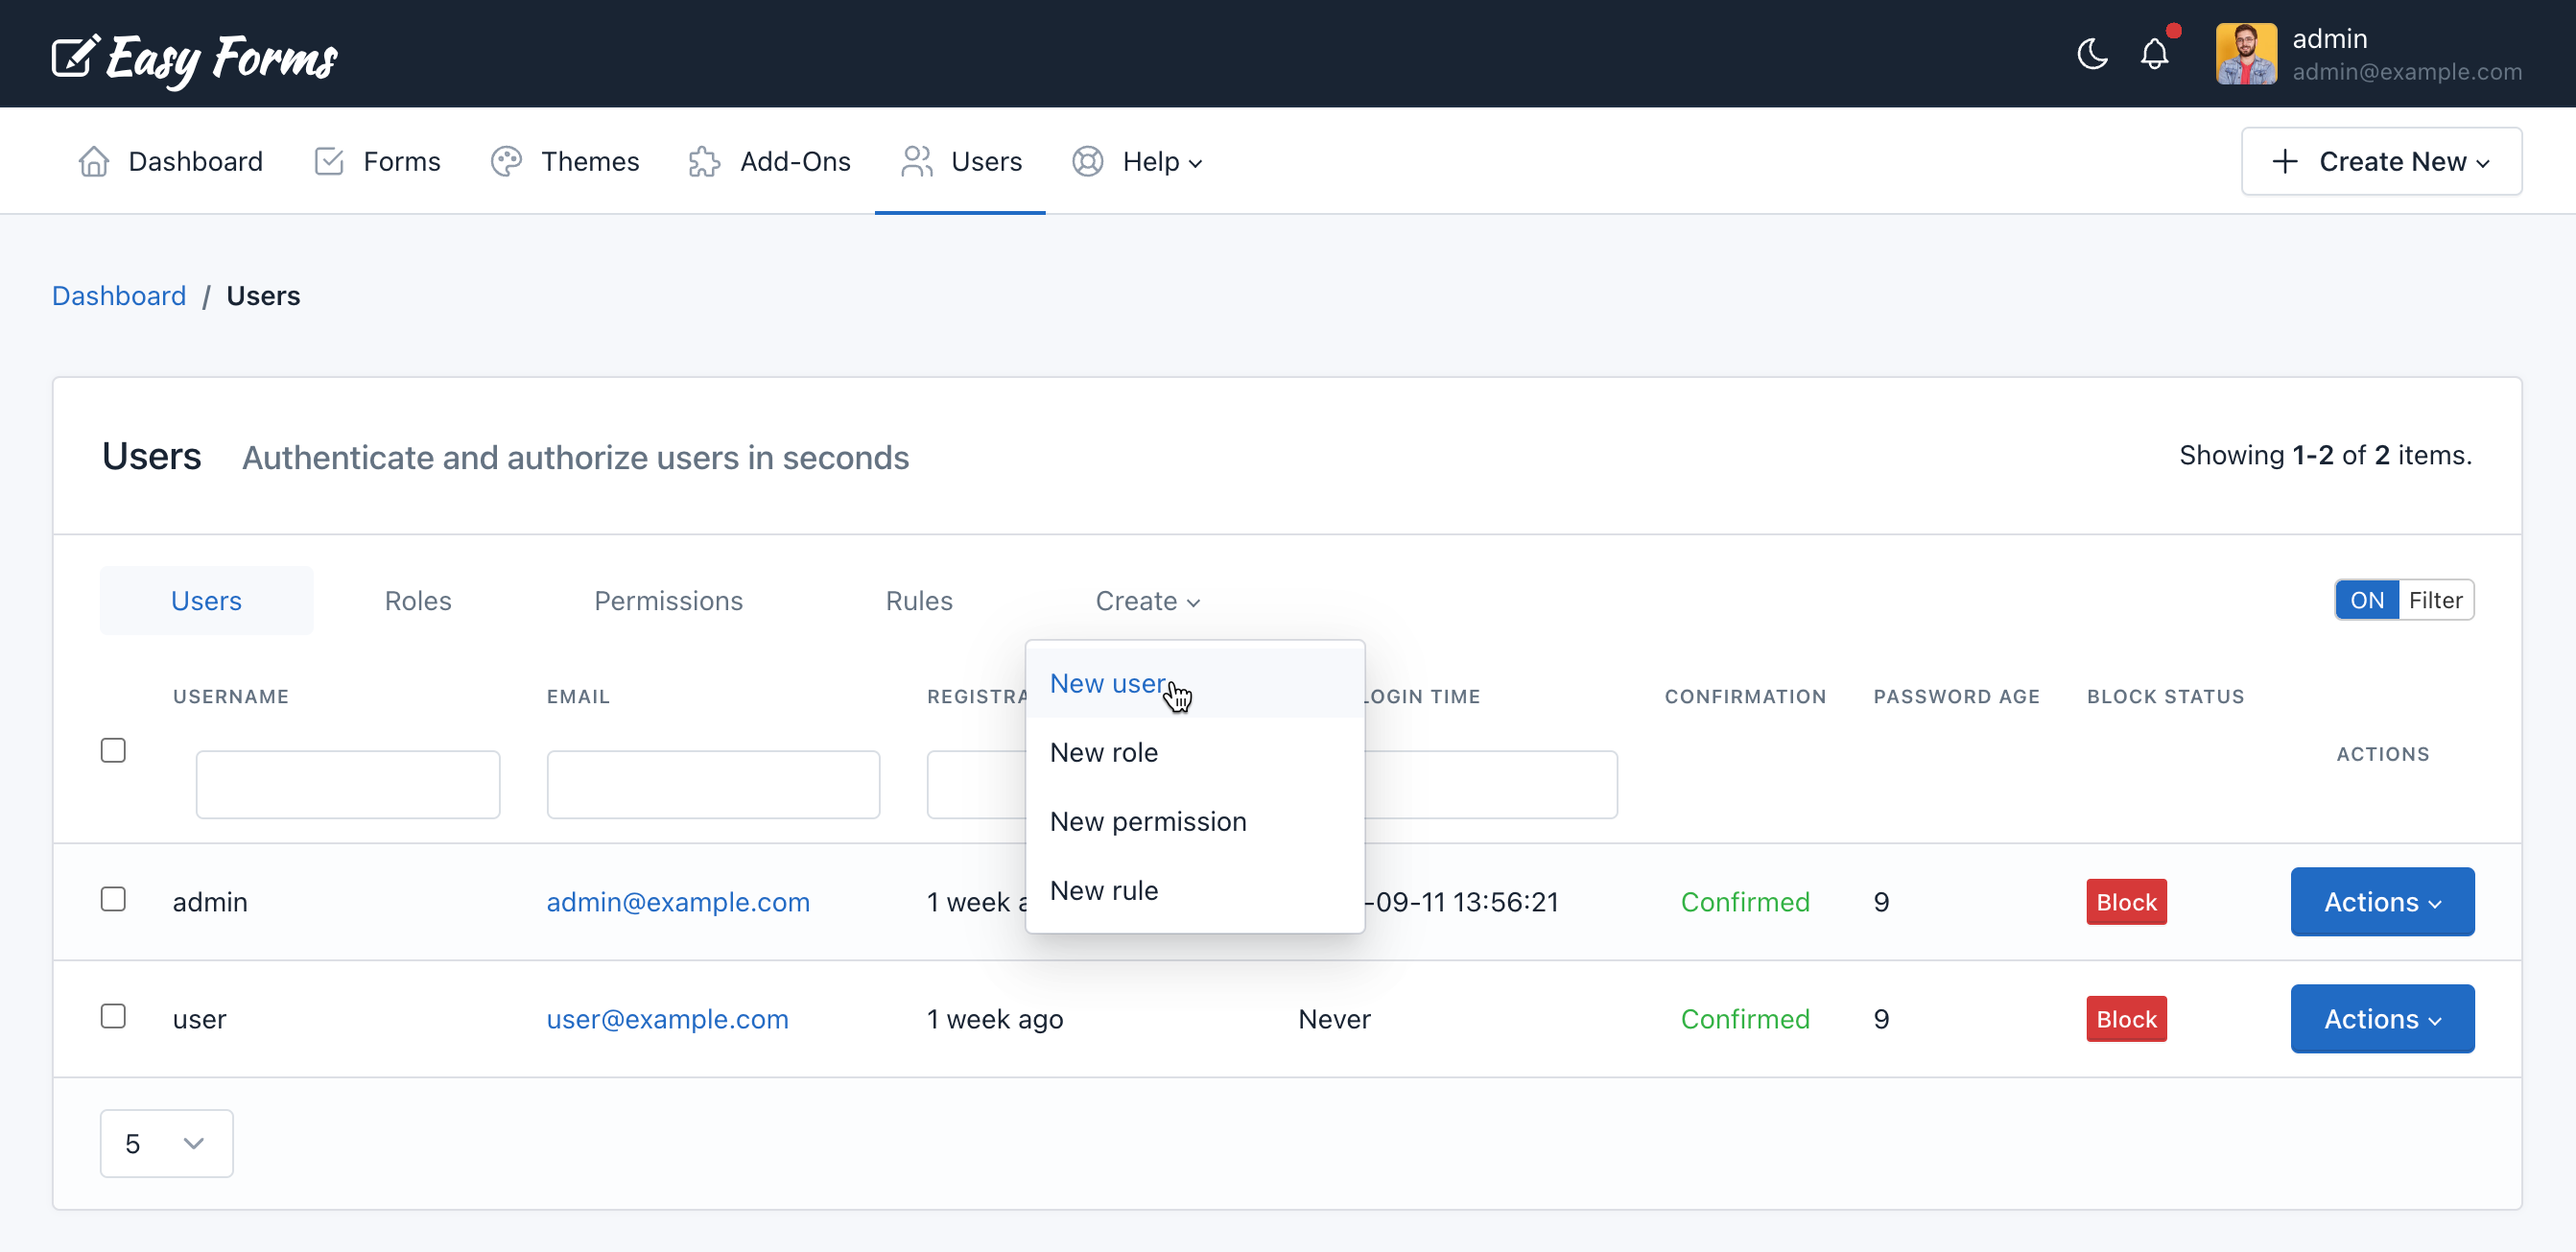
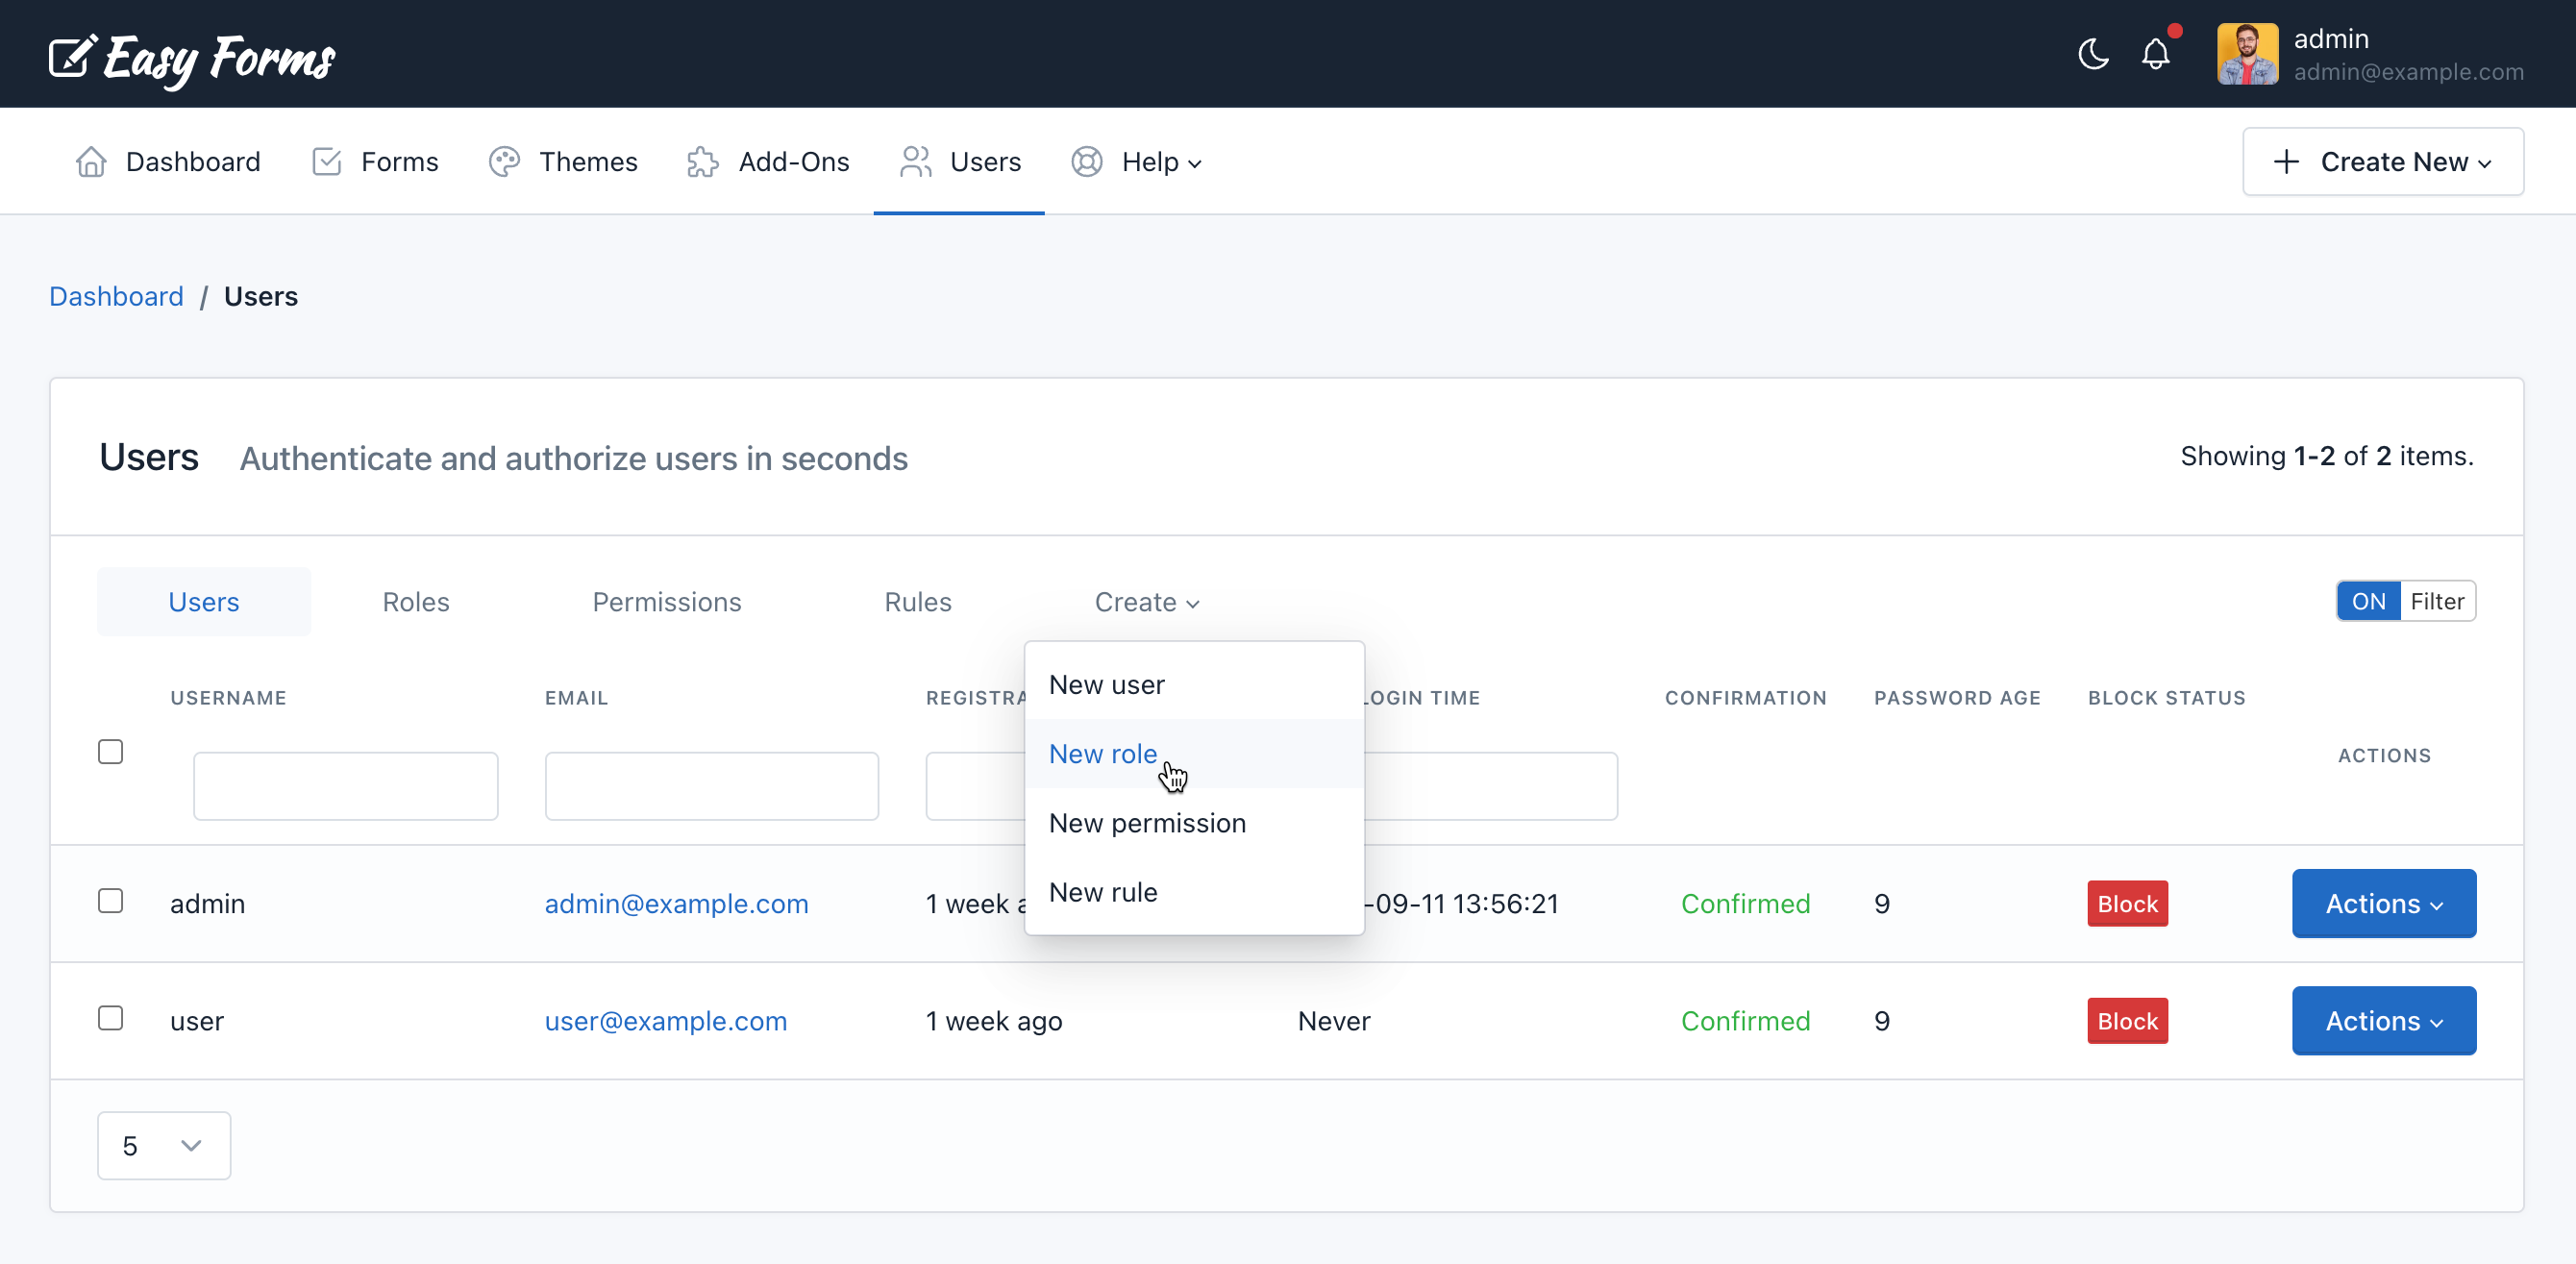
- Click on the "Create" button and click New User
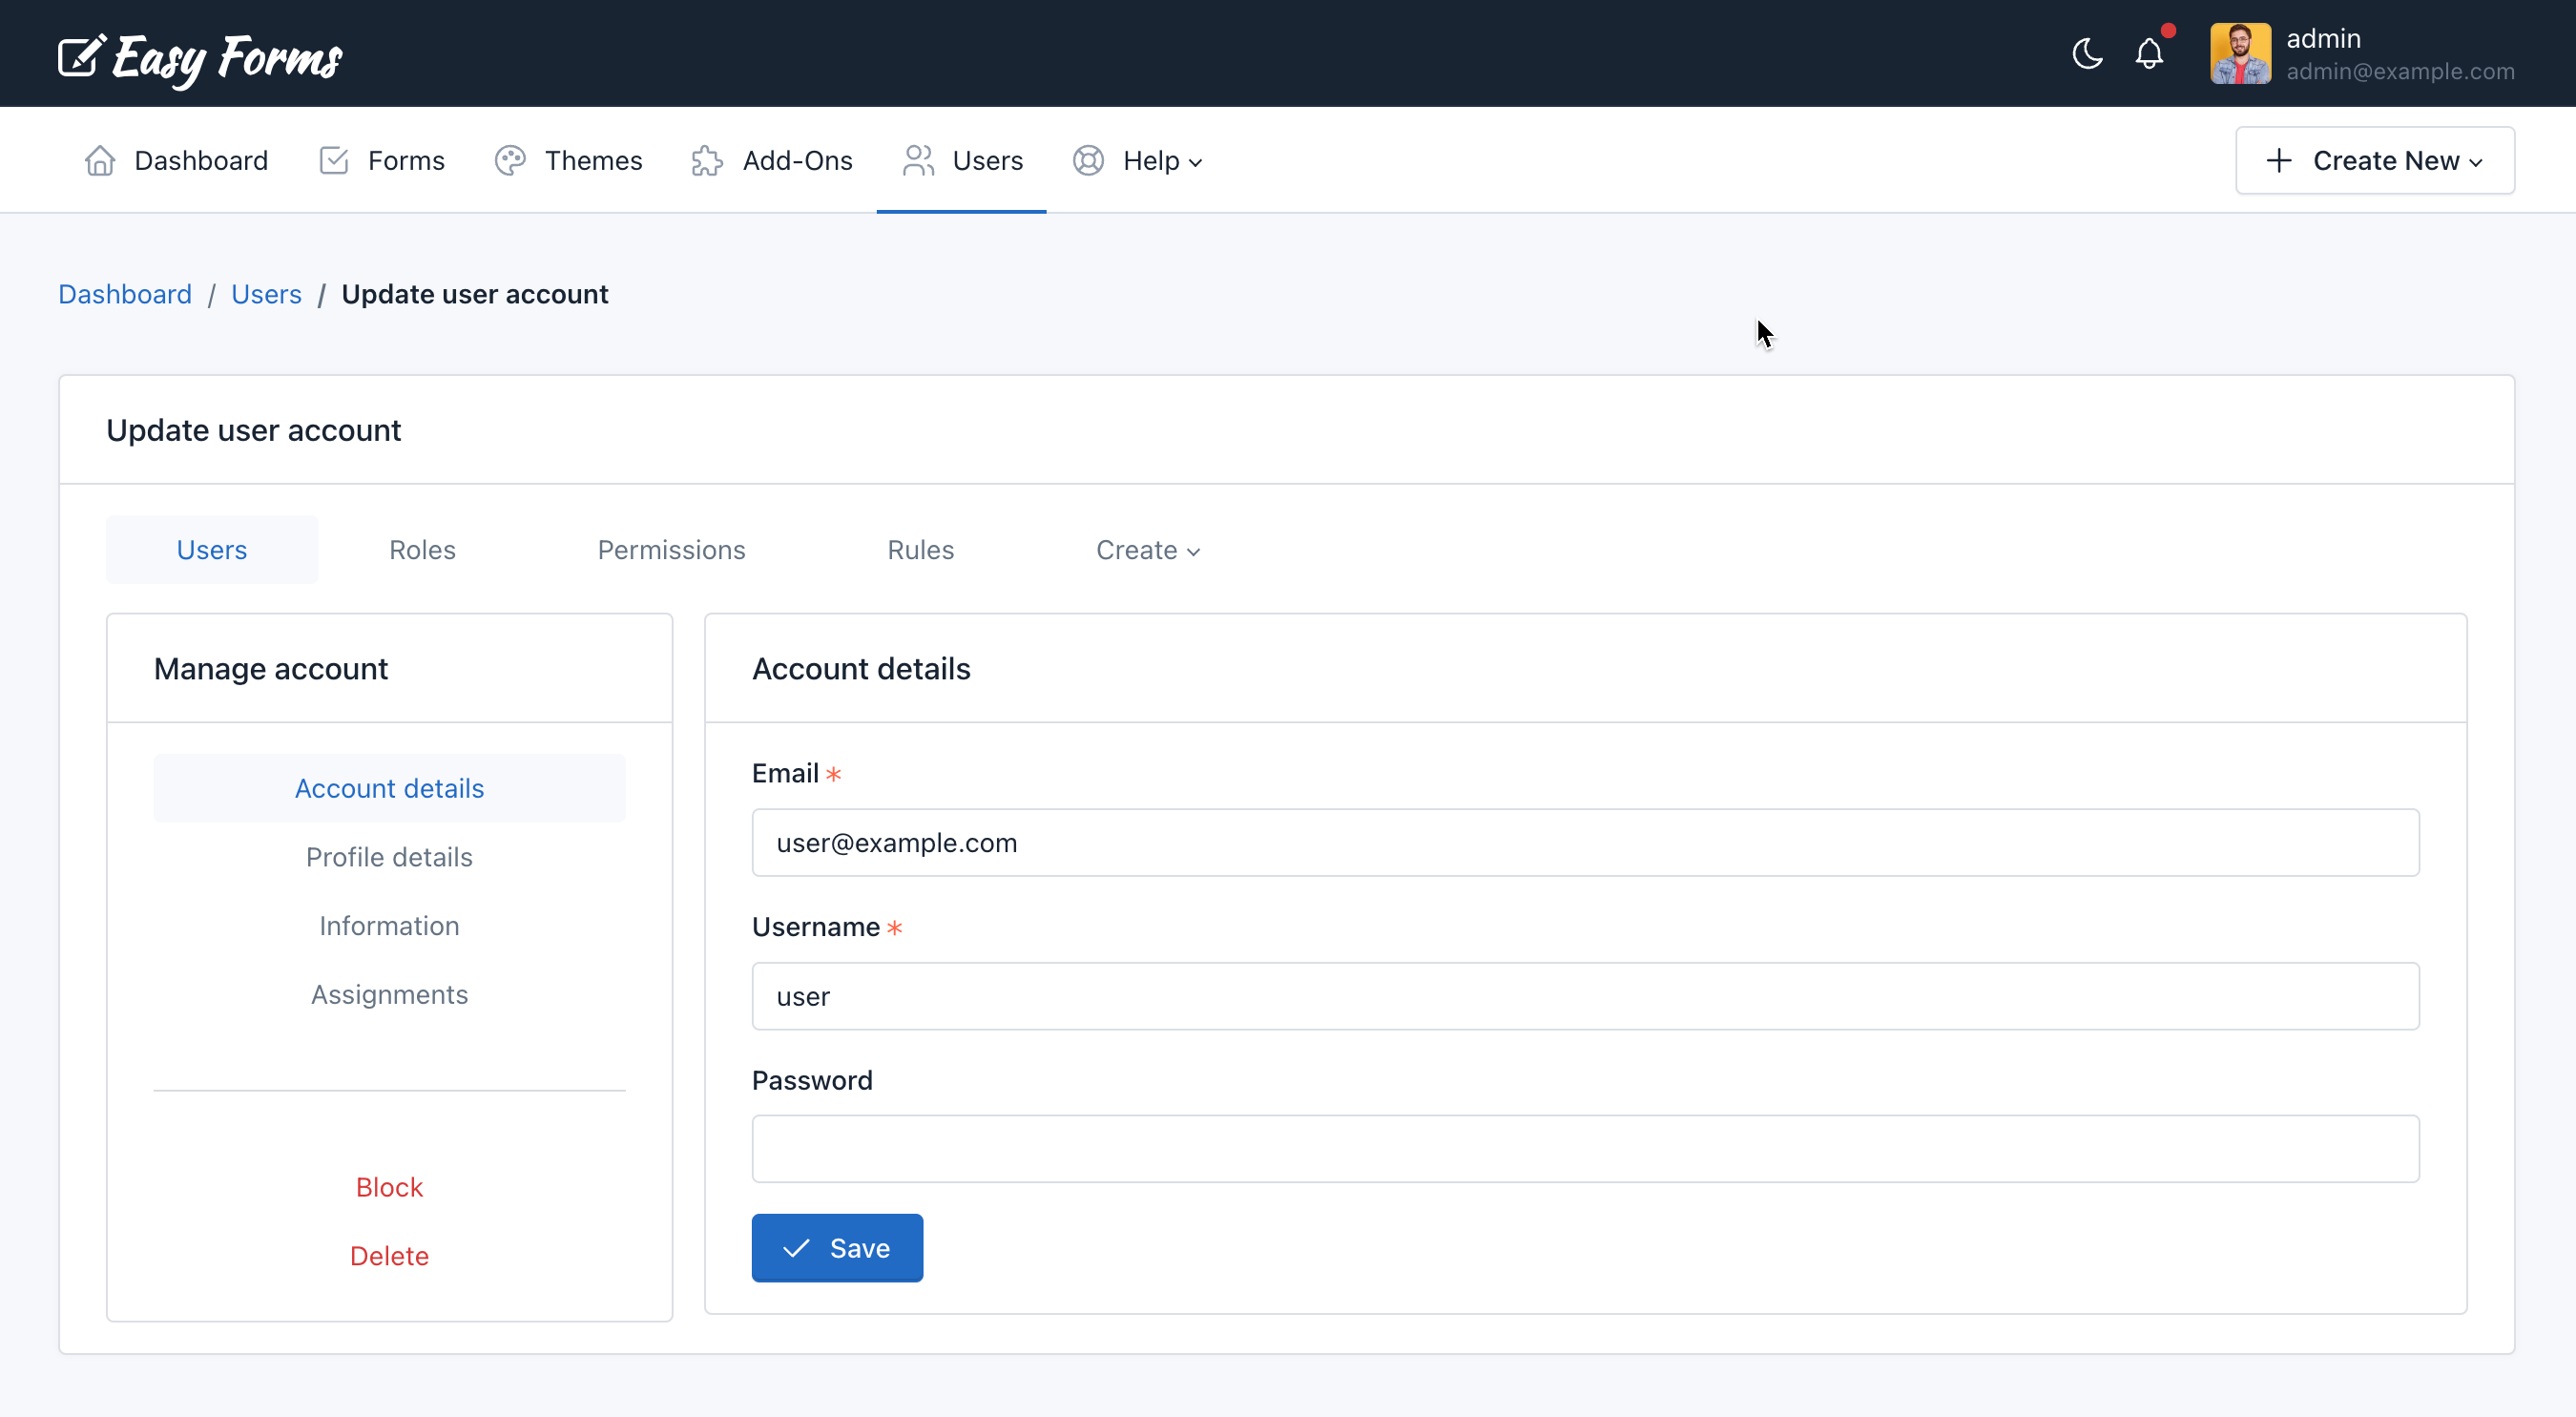
- Fill the account information:
- Username
- Password
- The user will receive an email notification.
- After that, if you want, you can complete the profile details:
- Name
- Email (Public)
- Location
- Website
- Gravatar email
- Biography
- Click on the "Save" button.
- After that, you can click the "Assignments" link to assign one or multiple roles or permissions to the user.
Updating a User 
To update a user go to the User Manager by clicking on the Users link in the navigation bar. Then, you must perform the following steps:
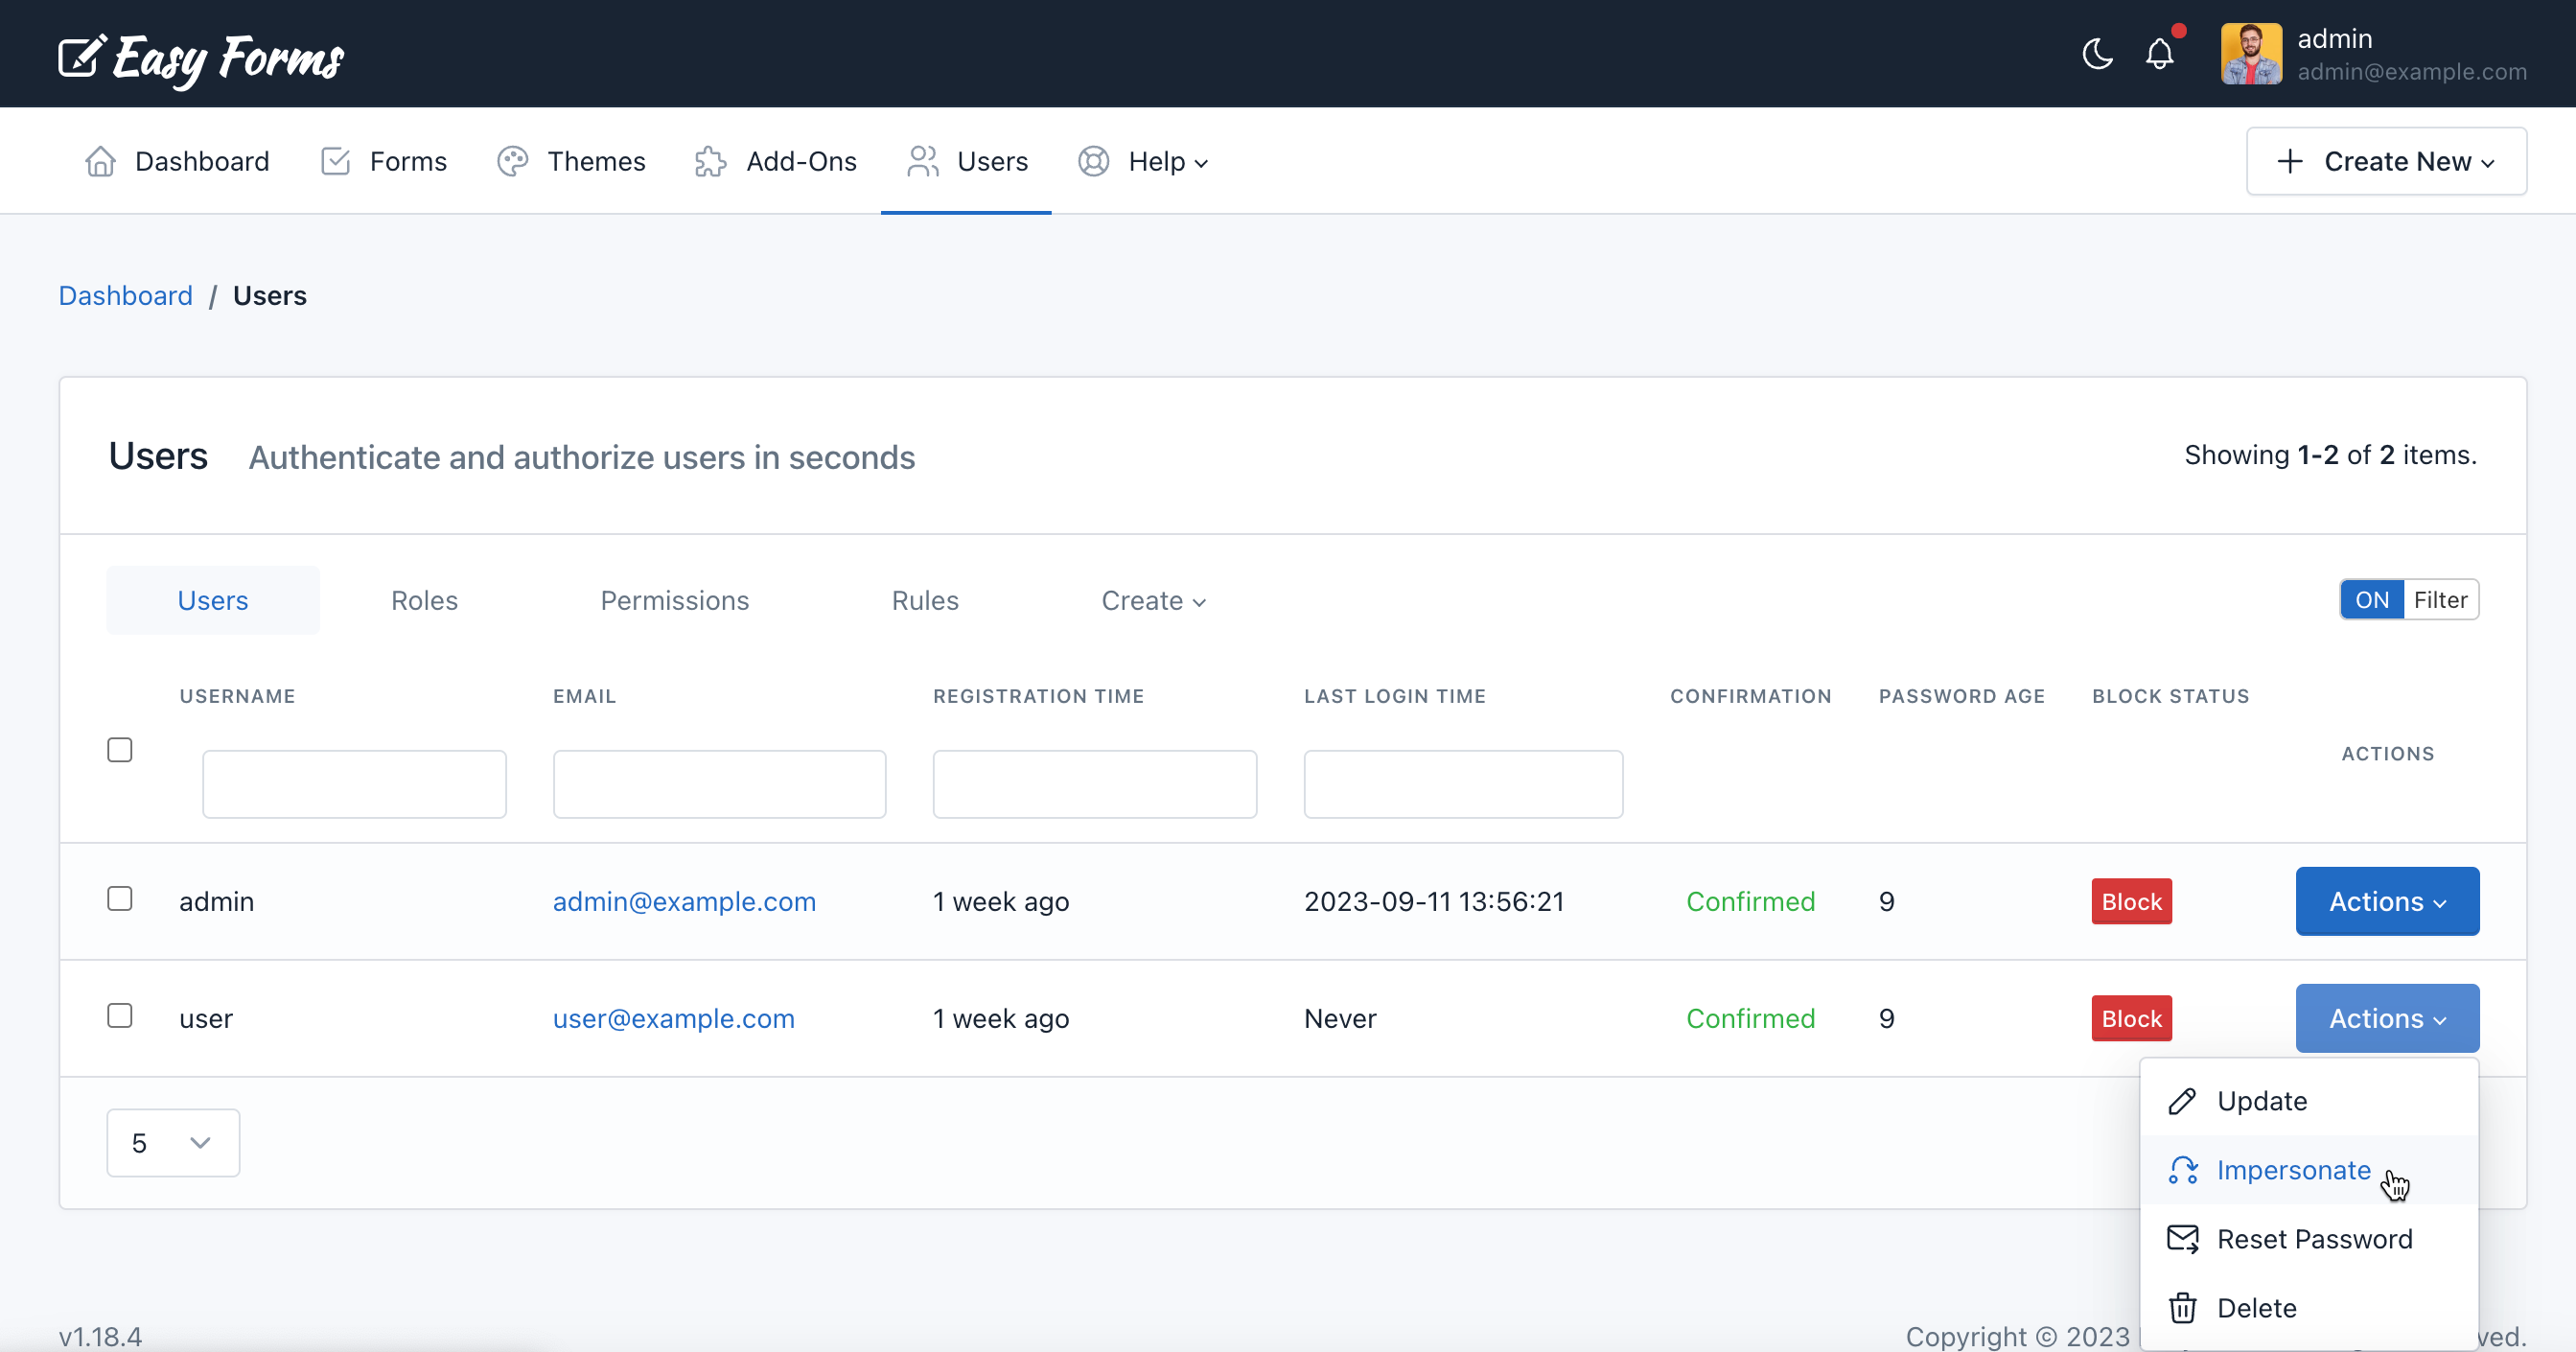
- Click the Actions button of the User to edit.
- Press Update.
- Change the account information.
- Modify the profile information.
- Update the assignments.
- Click the Update button.
Delete a User 
To delete a user go to the User Manager by clicking on the Users link in the navigation bar. Then, you must perform the following steps:
- Click the Actions button of the User to edit.
- Press Delete.
- A pop-up window will appear asking for confirmation. You must click OK.
- After reloading the page, the User will be deleted.
Note: Please keep in mind that all user information will be deleted and cannot be recovered.
Confirm a User 
After the registration process, a User must confirm his email address. If you want to omit this step, you can confirm a user manually.
To confirm a user go to the User Manager by clicking on the Users link in the navigation bar. Then, click the “Confirm” button you can see in the GridView.
Block a User 
To prevent a user from accessing the application, you must go to the User Manager by clicking on the Users link in the navigation bar. Then, click the "Block" button of the User you are going to block.
Impersonate a User 
To temporarily sign in as a different user, you must go to the User Manager by clicking on the Users link in the navigation bar. Then, you must perform the following steps:
- Click the Actions button of the User to impersonate.
- Press Impersonate User
- A pop-up window will appear asking for confirmation. You must click OK.
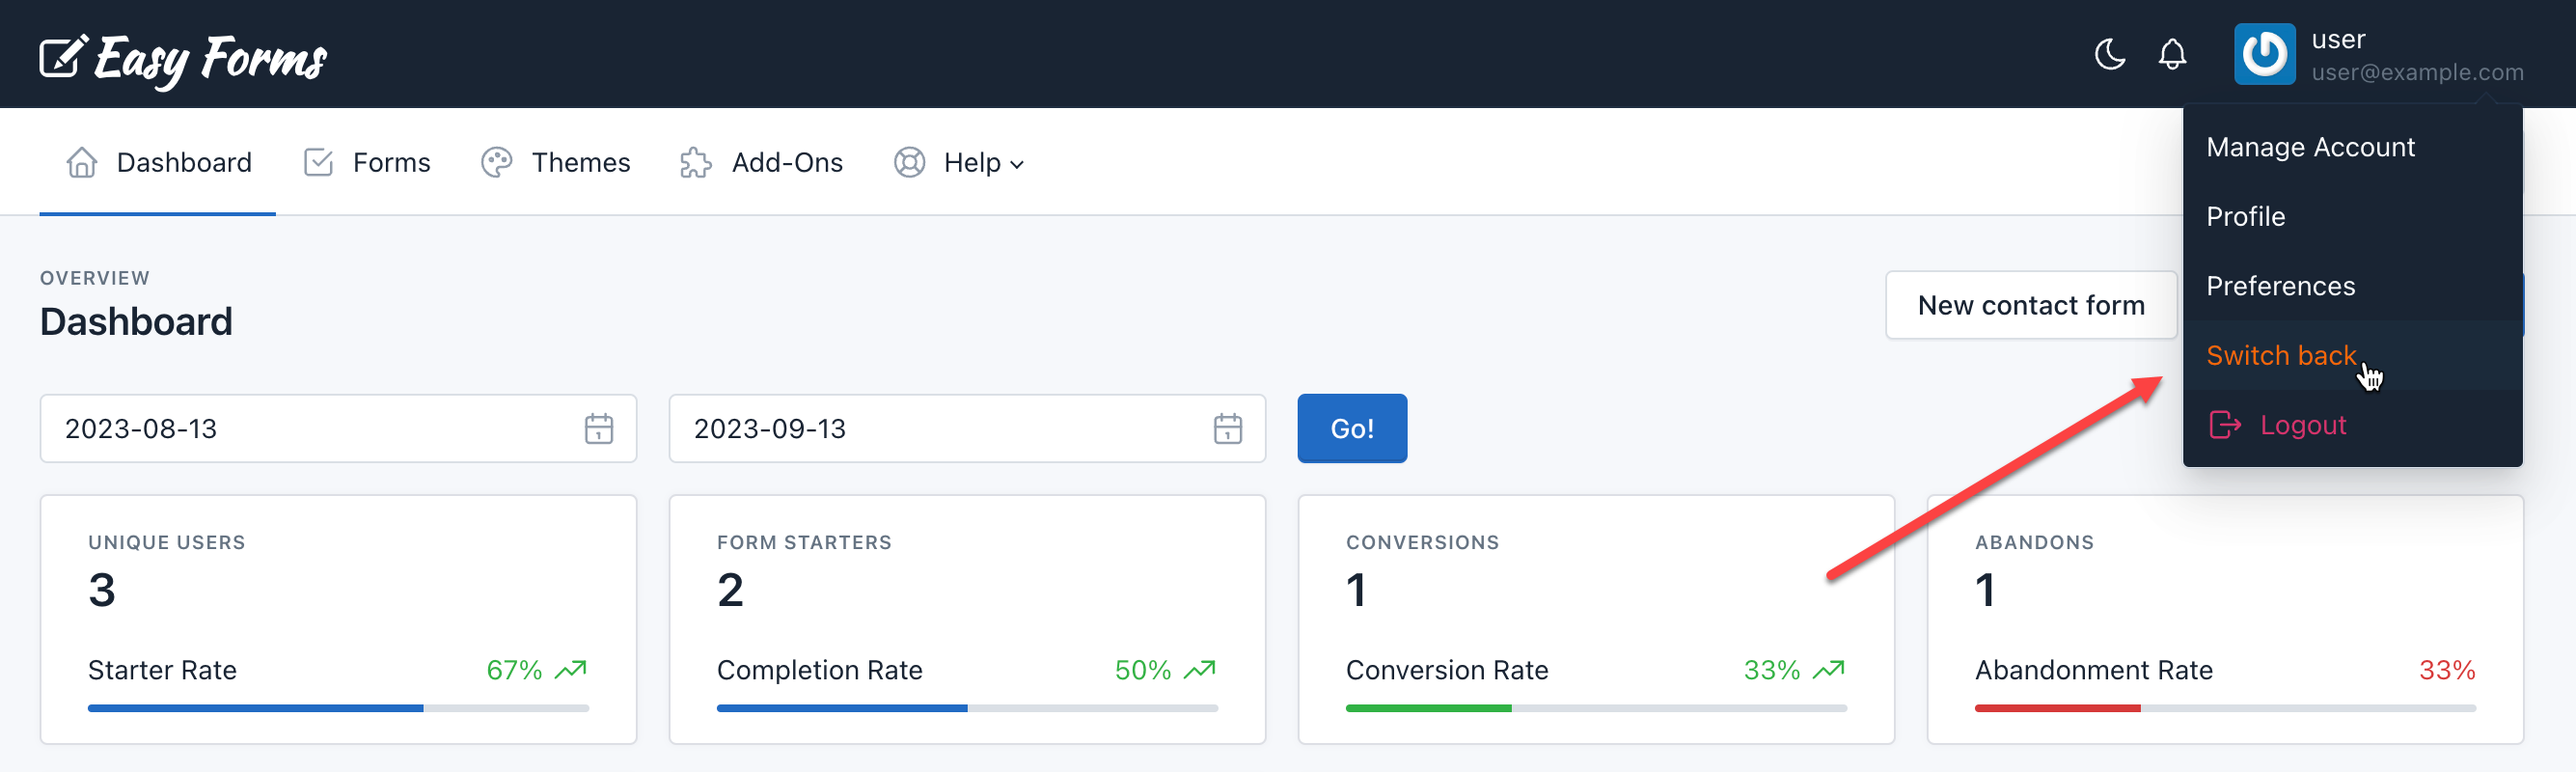
After reloading the page, you will be redirected to the Dashboard page, and a new link will appear in the navigation menu (above the “Log out” button) that will allow you to return to your personal account.
Reset User Password 
To reset a user password, you must go to the User Manager by clicking on the Users link in the navigation bar. Then, you must perform the following steps:
- Click the Actions button of the User to reset his password.
- Press Reset Password
- A pop-up window will appear asking for confirmation. You must click OK.
- A password recovery email will be sent to this user.
Create / Update / Copy a User Role 
To create a user role, you must go to the User Manager by clicking on the Users link in the navigation bar. Then, you must perform the following steps:
- Click on the Create button and click New Role
- Fill the following information:
- Name: Eg. customer
- Description: EG. Role: Customer
- Rule: Keep it empty. This feature is only useful for developers.
- Children: Select the user roles from which you want to inherit their permissions or the specific user permissions for this role.
- Click the Save button
If you want to update the user role, go to the User Manager by clicking on the Users link in the navigation bar. Then click Roles, then Actions and press the Update button.
Also, if you want, you can Copy an existing role and use that as a starting point to create a new role with different permissions. Just go to the User Manager by clicking on the Users link in the navigation bar. Then click Roles, then Actions and press the Copy button.
Assign User Roles to a User 
To assign a user role to a user, follow the next steps:
- Click the Users link in the navigation bar
- Click the Actions button
- Click Update
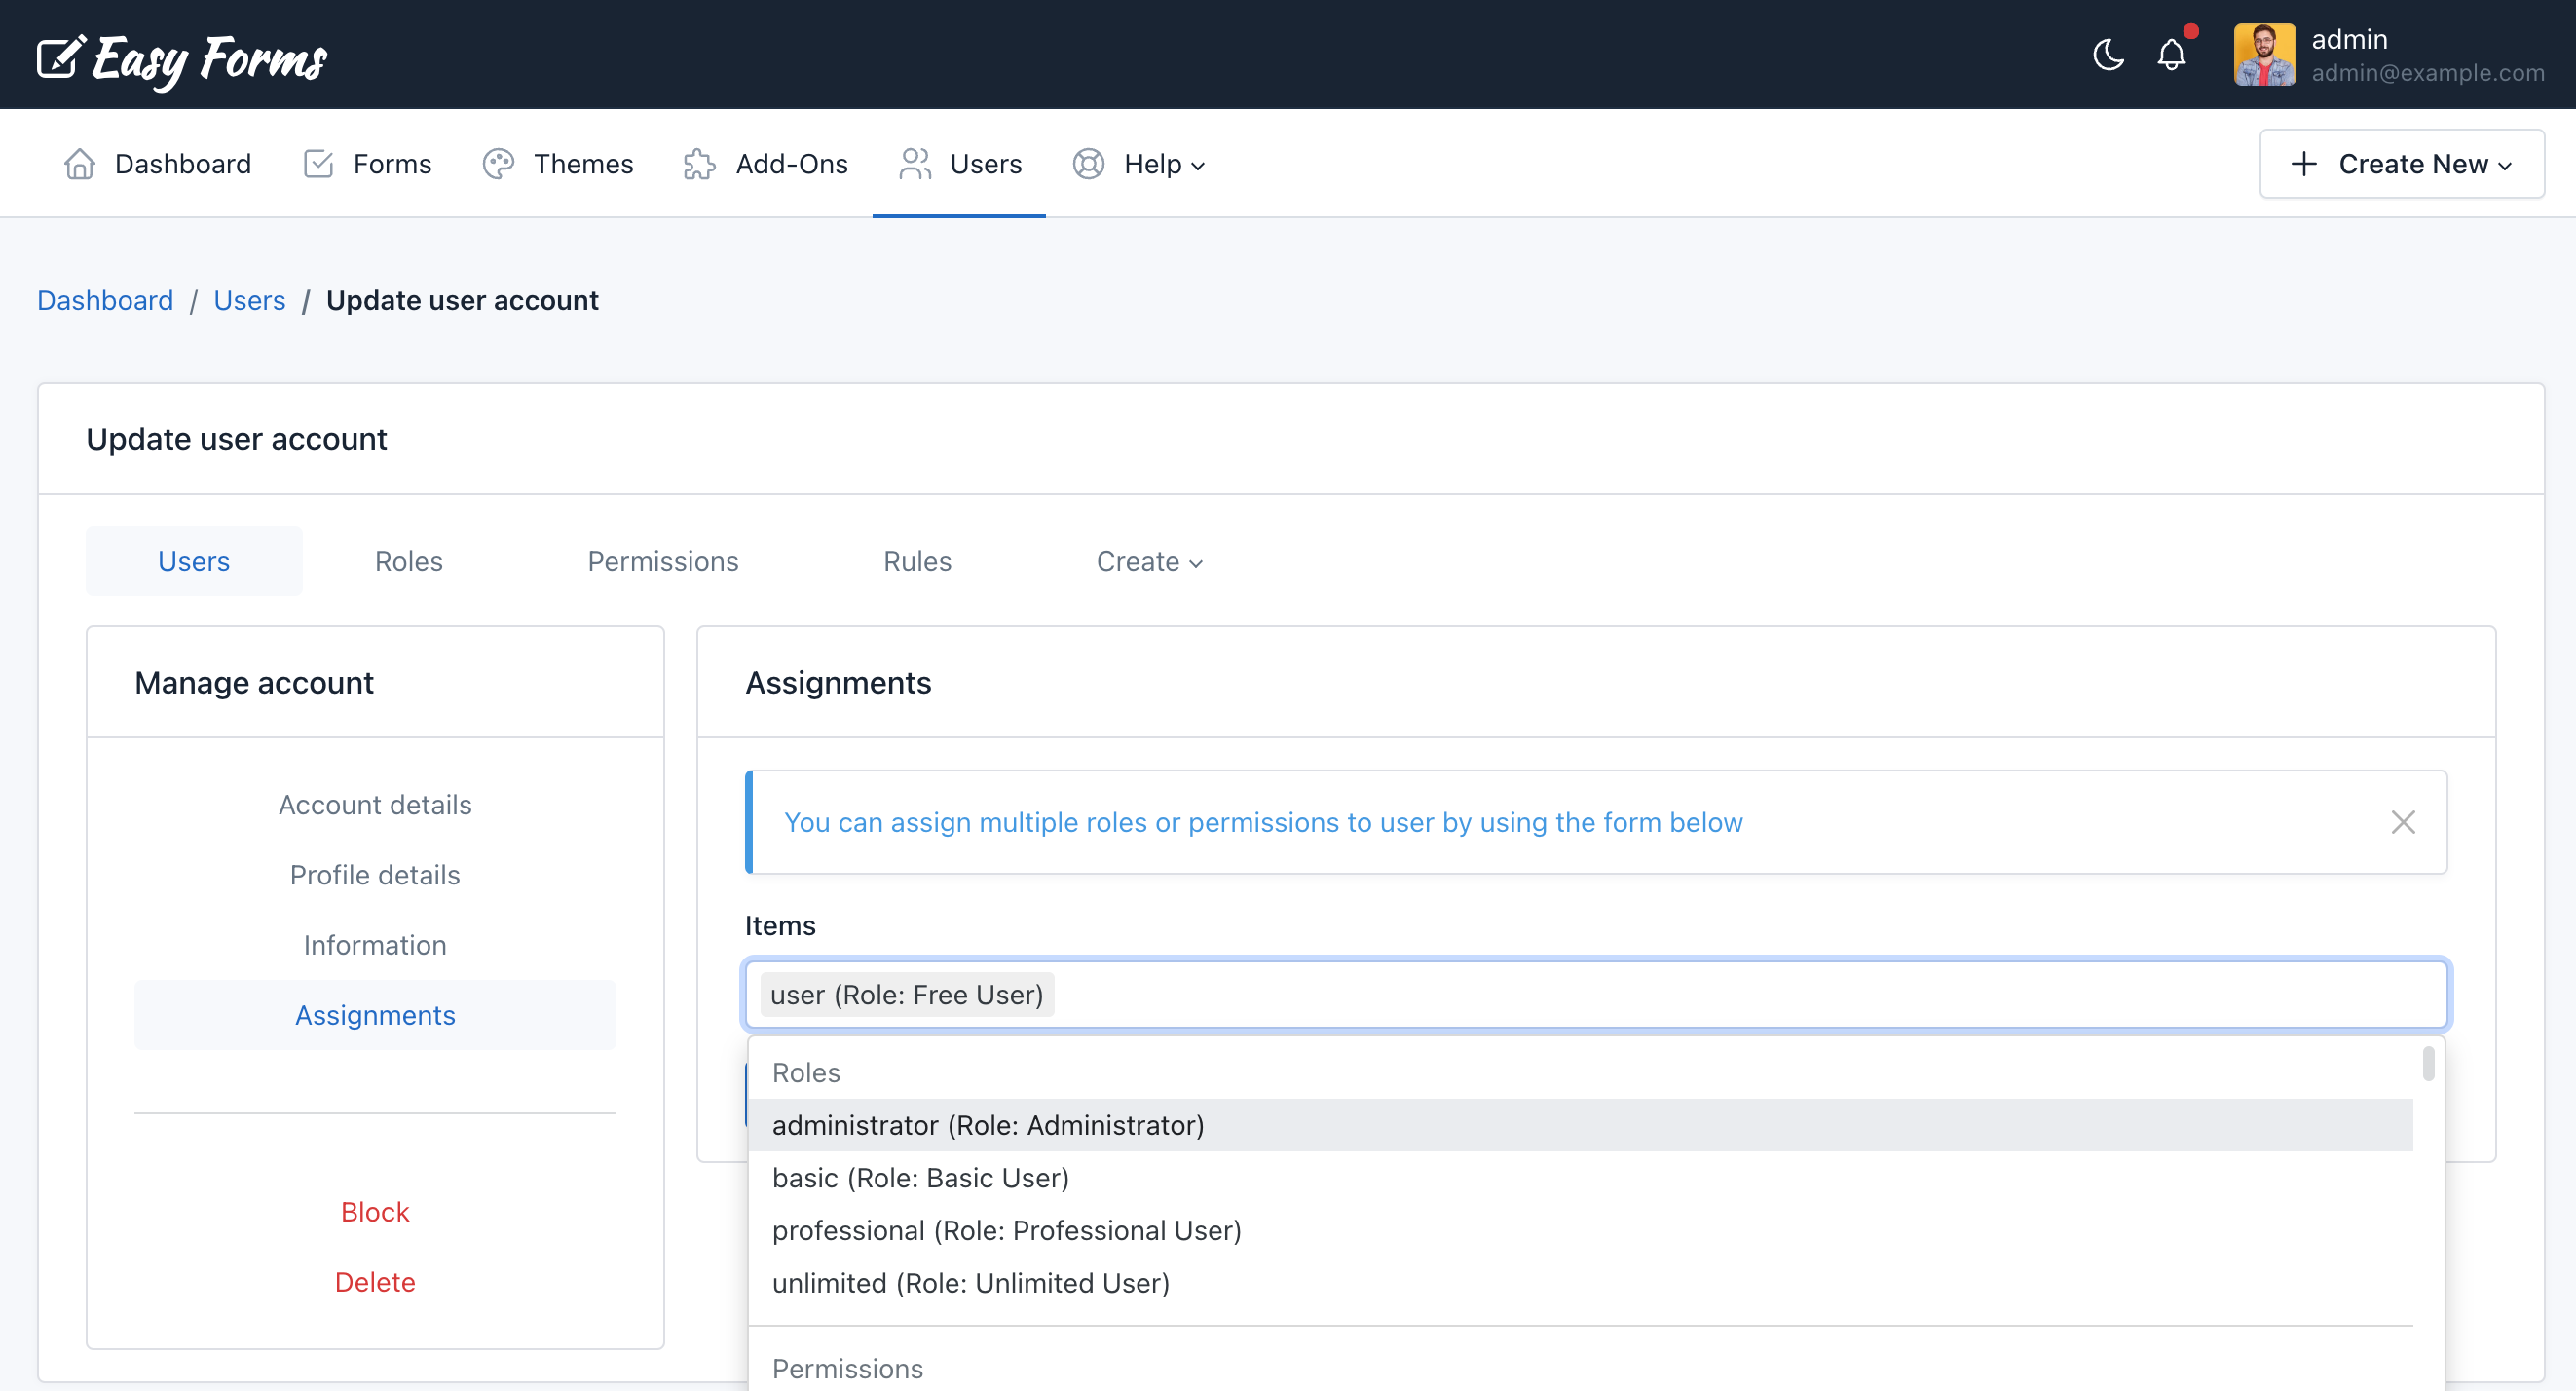
- Click Assignments
- In Items, select the user role
- Click Save
Assign User Permissions to a User 
To assign one or multiple user permissions to a user, follow the next steps:
- Click the Users link in the navigation bar
- Click the Actions button
- Click Update
- Click Assignments
- In Items, select the user permissions
- Click Save